Hackster's F100 #2 CV Swap 6 speed manual and Coyote

Post progress reports on your project truck(s)

Moderator: FORDification

Post Reply
hackster
Preferred User
Preferred User
Posts: 317
Joined: Fri Oct 18, 2013 11:21 am

Re: Hackster's F100 #2 CV Swap 6 speed manual and Coyote

Post by hackster »

poke em wrote:Looking good, removing that crossmember is a messy job. I know you didn't have any clearance issues with cab mount crossmember on your LS swap. I'm curious to see what happens on this one. I did a CV front with a 4.6 dohc with 4R70W and it sits so low the crossmember had to come out. I tried clearancing it but by the time I had almost enough room there wasn't much left of it. I plan on fabbing one that goes above the transmission rather than below. Are you going to box the frame more extensively on this build?
Ill see how it goes, I hope I can keep it to be honest but if it needs to come out so be it. I don't want the motor to be that low anyway, this thing needs to be a driver =)

I think I will plate the frontend a little farther up and back. I cut out the power steering box mount on this one and left it on the last one.

The rear will likely get a little more plating as it will also get a new crossmember and some link pockets.

Do you think I should just plate it front to rear? This is something I have not done before.

Sean
hackster
Preferred User
Preferred User
Posts: 317
Joined: Fri Oct 18, 2013 11:21 am

Re: Hackster's F100 #2 CV Swap 6 speed manual and Coyote

Post by hackster »

After not being happy with the location on the other truck since I got the fenders on.....I am being beyond OCD about this one.

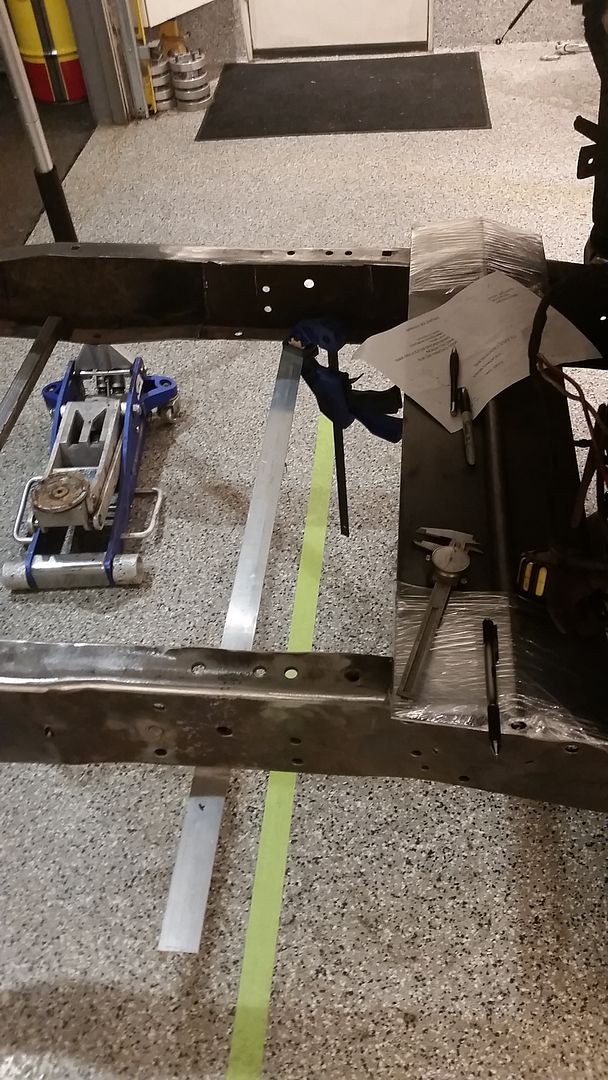
First method is to establish the wheelbase centerline right and left on the floor. This was done with a square off of the rear axle on both sides. I then got the wheelbase off the door plate and measured forward off of those tape lines to 115" and had the wife help me run a parallel tape line to the rearend for the centerline of the front axle....it looks like this.

Image

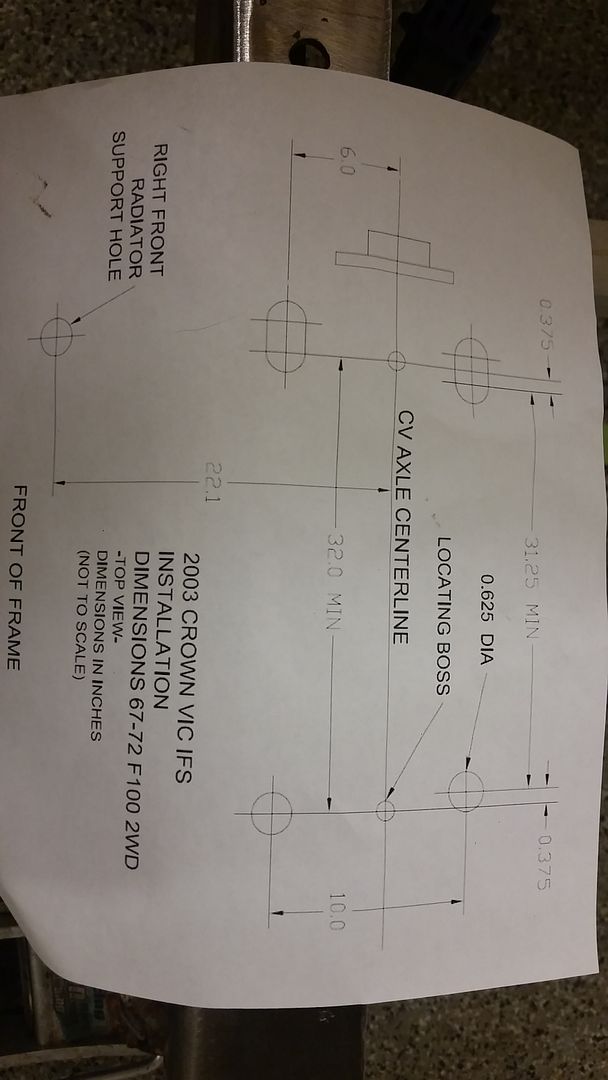
I also used this handy printout from this fine forum to do some measuring on the frontend. I measured back 22.1" using a square again off of the enter of the radiator mounting holes like indicated on the diagram and that puts me roughly .525" back from the back of the front rivet hole. The span between those two holes is 1.178 so it is less than half, biassed to the front.

Image

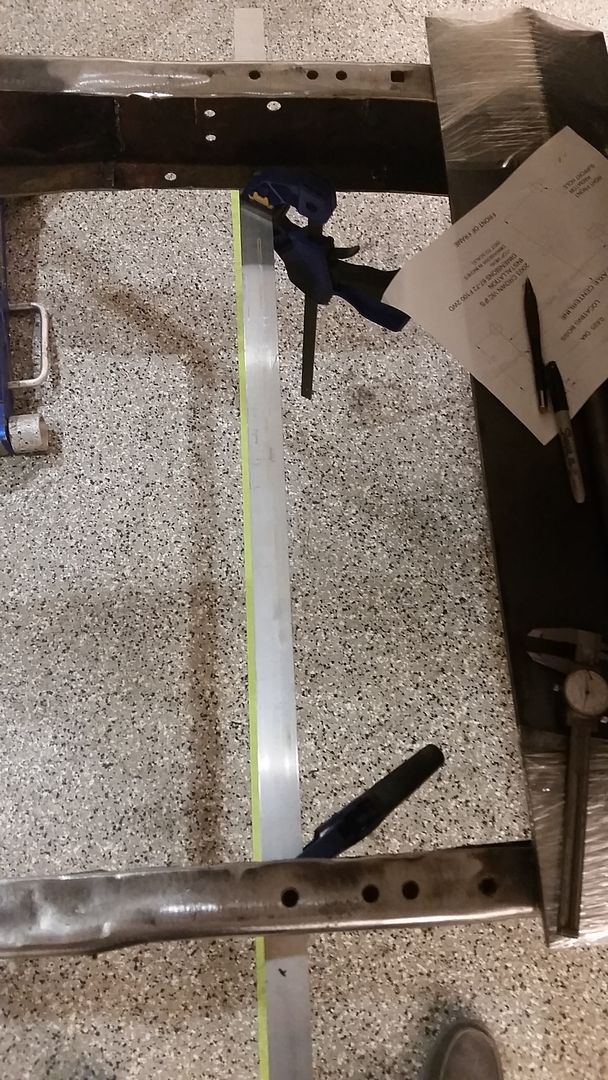
I then got that marked out after measuring and remeasuring about 5 more times and put on my piece of angle aluminum on there to scope it out. Everything lines up with my measurements and stuff but before I drill the holes....are you guys finding these locations and measurements to be acurate?

Image

Thanks in advance for the help.
Last edited by hackster on Fri Oct 16, 2015 8:50 am, edited 1 time in total.
User avatar
theletup
New Member
New Member
Posts: 88
Joined: Tue Jun 19, 2012 1:00 am
Location: Post Falls, ID

Re: Hackster's F100 #2 CV Swap 6 speed manual and Coyote

Post by theletup »

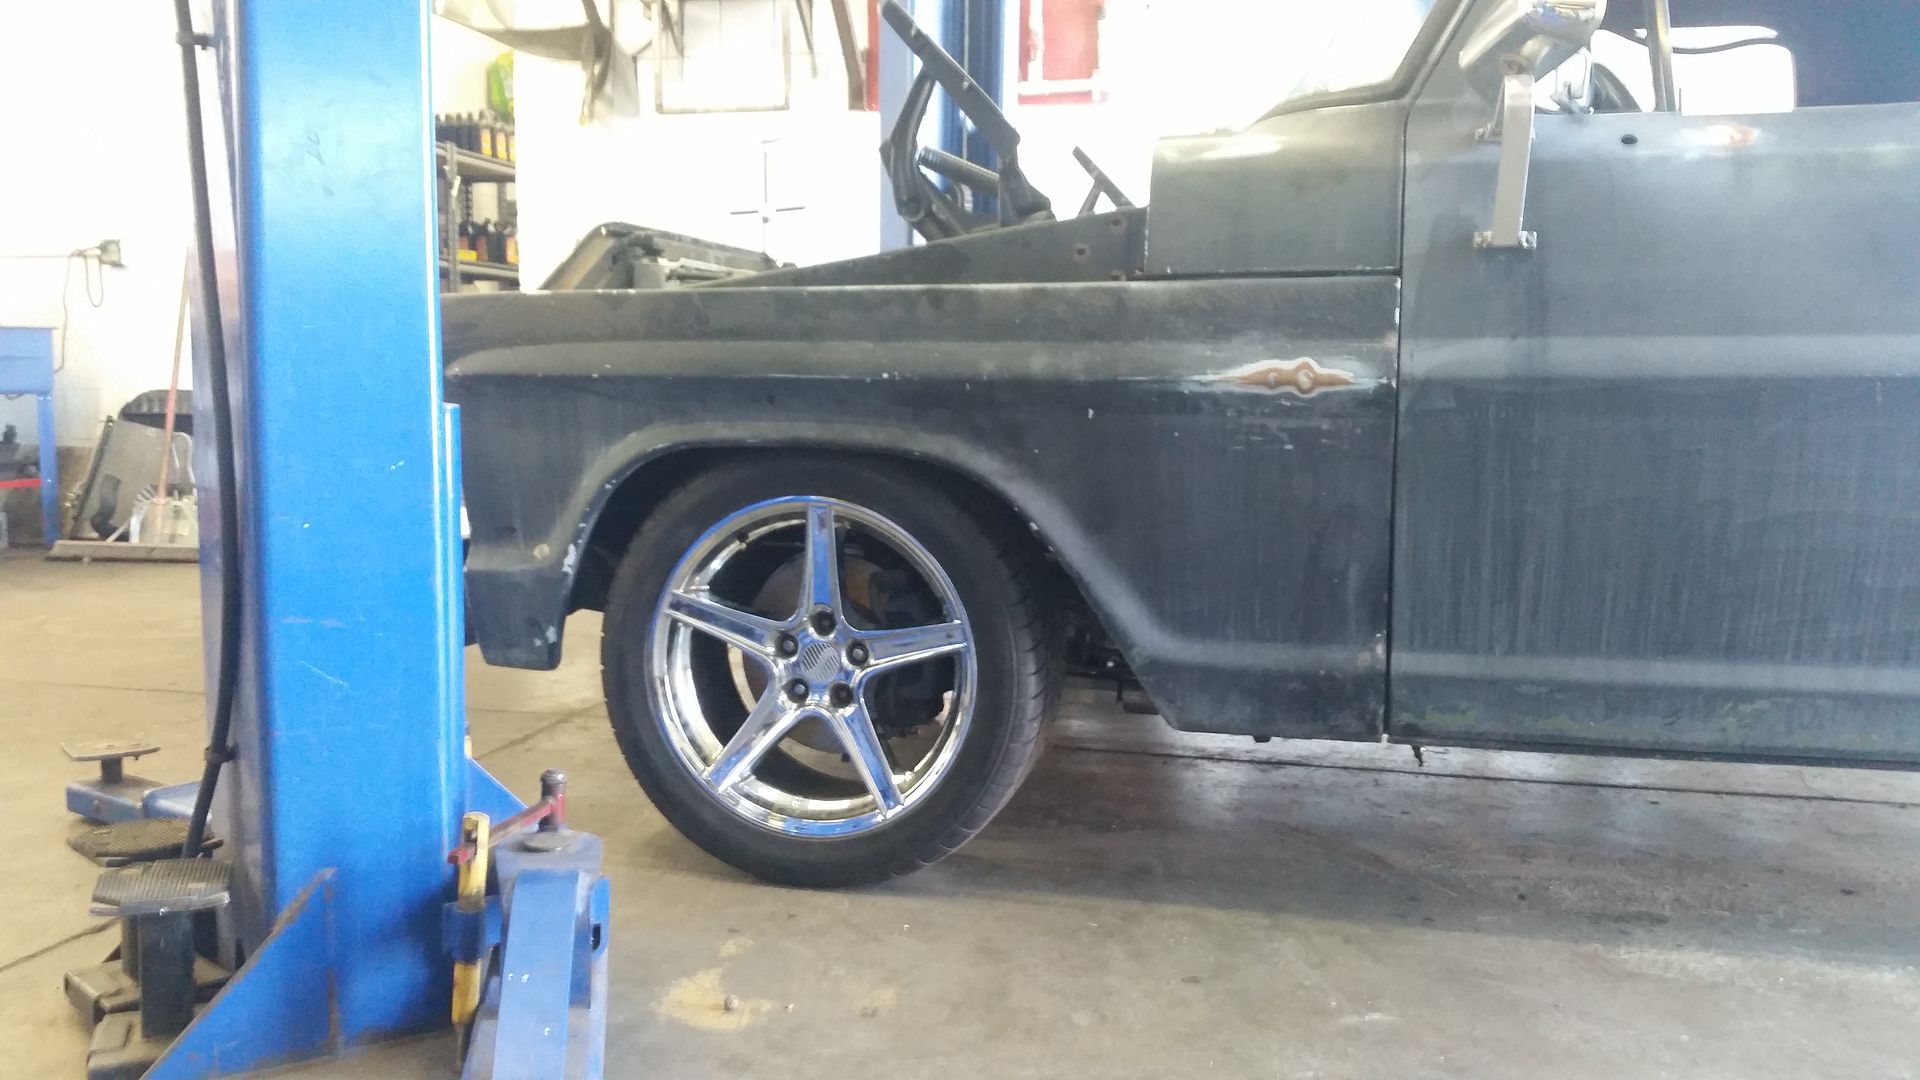
I measured, measured, measured, measured, read forum posts, and measured again and came up with the exact same measurement as you on my first CV swap. I used the same diagram you are using. Then on my second one (the Saleen truck) I decided to save myself a bunch of time and just went directly center inbetween the two rivet holes (and then double checked to make sure it was square and the same on both sides of course). Here's the most straight on pic I have on my phone right now. I will take a picture straight on tomorrow so you can see exactly where it's sitting.

Image
http://SpokaneSaveMore.com
Save More Automotive
hackster
Preferred User
Preferred User
Posts: 317
Joined: Fri Oct 18, 2013 11:21 am

Re: Hackster's F100 #2 CV Swap 6 speed manual and Coyote

Post by hackster »

That is pretty much where I am at. Yours looks good in the wheelwell and you are making good progress on the build.

I am planning on drilling the holes tonight and getting **** bolted in if I can. I think I have everything to do the front at home.

Sean
User avatar
poke em
New Member
New Member
Posts: 63
Joined: Wed Nov 26, 2014 1:58 am
Location: Hayden Idaho

Re: Hackster's F100 #2 CV Swap 6 speed manual and Coyote

Post by poke em »

I drilled my locator holes slightly back from center between the rivet holes. This truck was an F250 so I may have different holes than yours. I am running a smaller wheel/tire combo for now, but I like the way it turned out.

Image
Image
hackster
Preferred User
Preferred User
Posts: 317
Joined: Fri Oct 18, 2013 11:21 am

Re: Hackster's F100 #2 CV Swap 6 speed manual and Coyote

Post by hackster »

First of all Poke em....your truck is rad. Excellent look all the way around.

Picked up a cold this week so not a lot going on. Pressure washed the frontend last night in prep for getting it under the truck, degreased it and washed again, it looks good, I would not say great though.

Ordered all my rear suspension for the truck and hope it all works. BMR adjustable lower control arms, BMR adjustable upper link and BMR adjustable track bar. All for a 2012 mustang so the plan is to keep the three link with the panhard bar and do coilovers in the rear. My initial measurements show me that it might work. Also ordered the Naake double adjustable coilovers for the front.

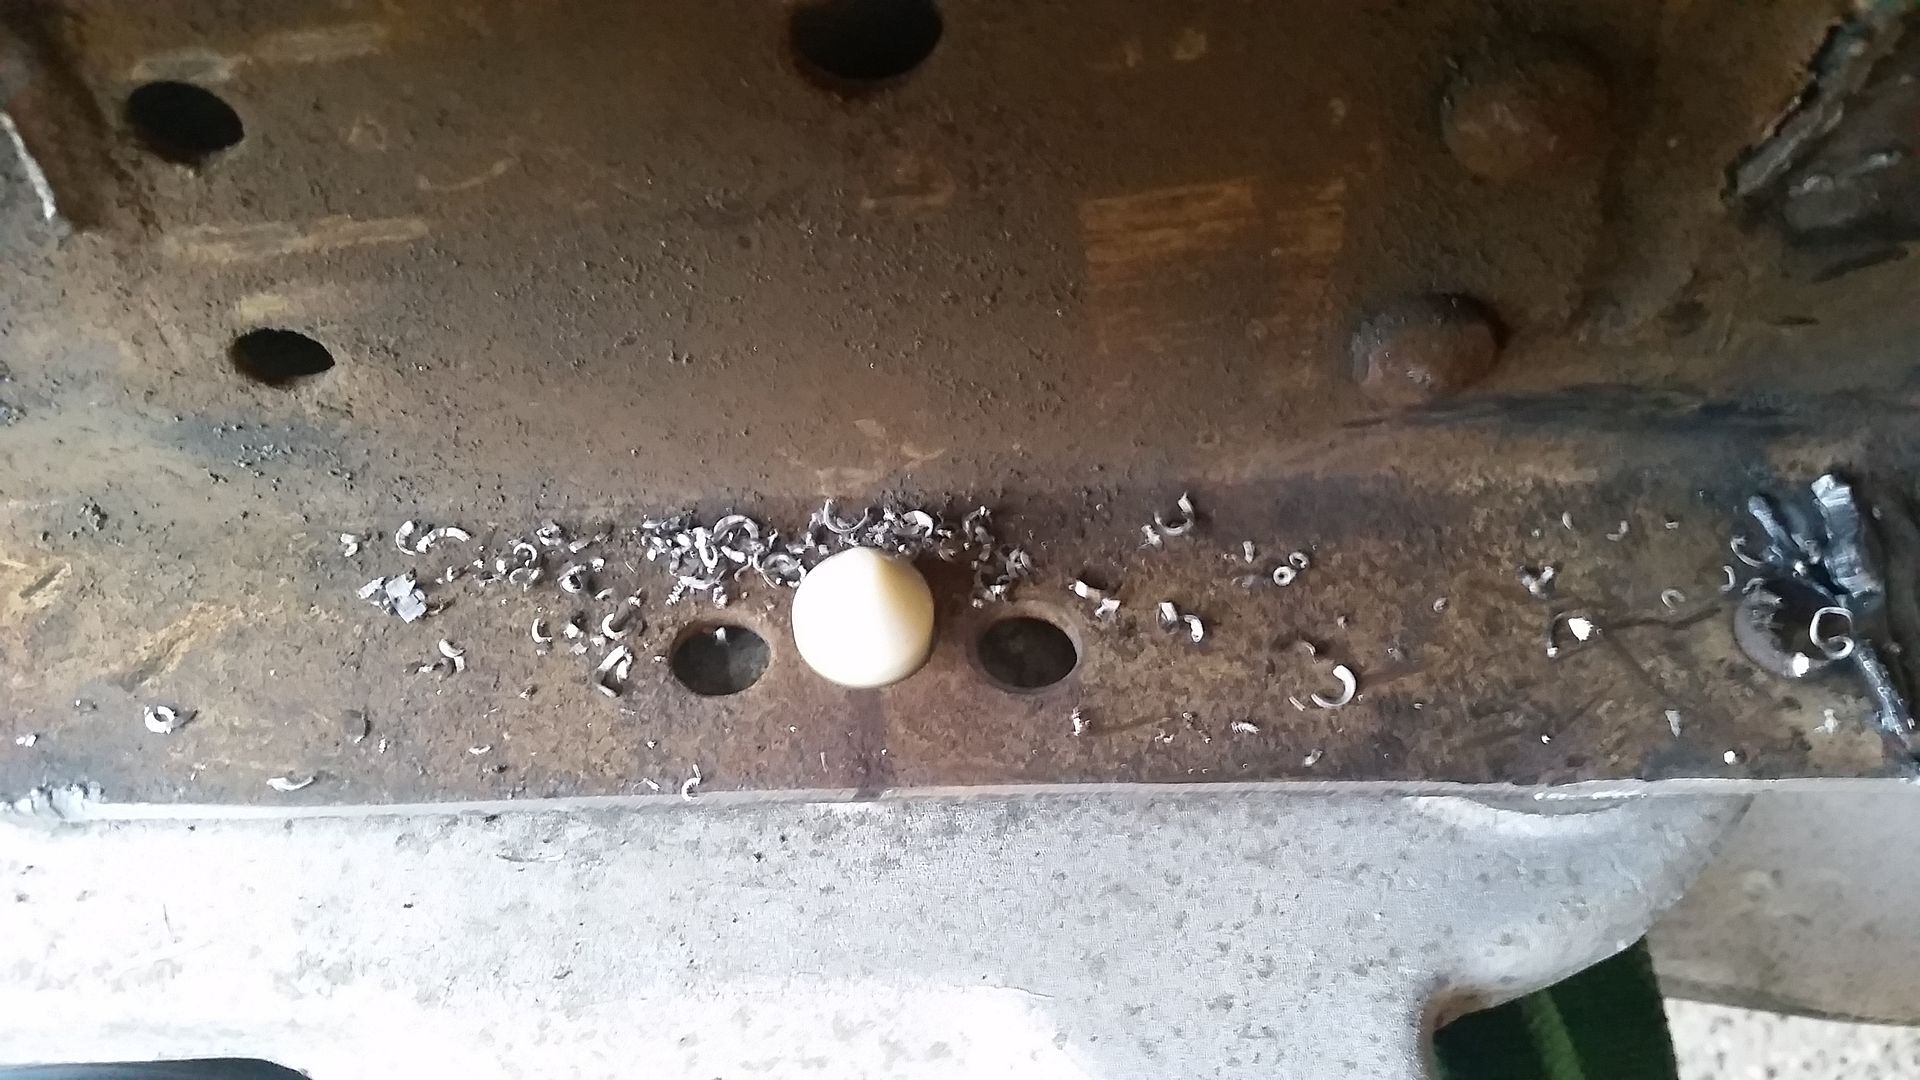
Finally stopped being a wuus and drilled the holes in my frame for the locate pins on the frontend.

Image

It went right on, pins lined right up on the holes I drilled. Marked out the four mounting holes and got to drilling. Cut my sleeves and prepped it all. Ready to weld it all out tomorrow night or saturday.

Image
IN2FORD
Preferred User
Preferred User
Posts: 345
Joined: Sun Apr 27, 2014 3:54 pm
Location: Cookeville TN

Re: Hackster's F100 #2 CV Swap 6 speed manual and Coyote

Post by IN2FORD »

Hackster the mustang rear setup sounds awesome! Keep good notes, you might could turn that into a kit! And I would be the first buyer!!

Barry
hackster
Preferred User
Preferred User
Posts: 317
Joined: Fri Oct 18, 2013 11:21 am

Re: Hackster's F100 #2 CV Swap 6 speed manual and Coyote

Post by hackster »

I am not good at keeping notes....but I will do my best :wink:

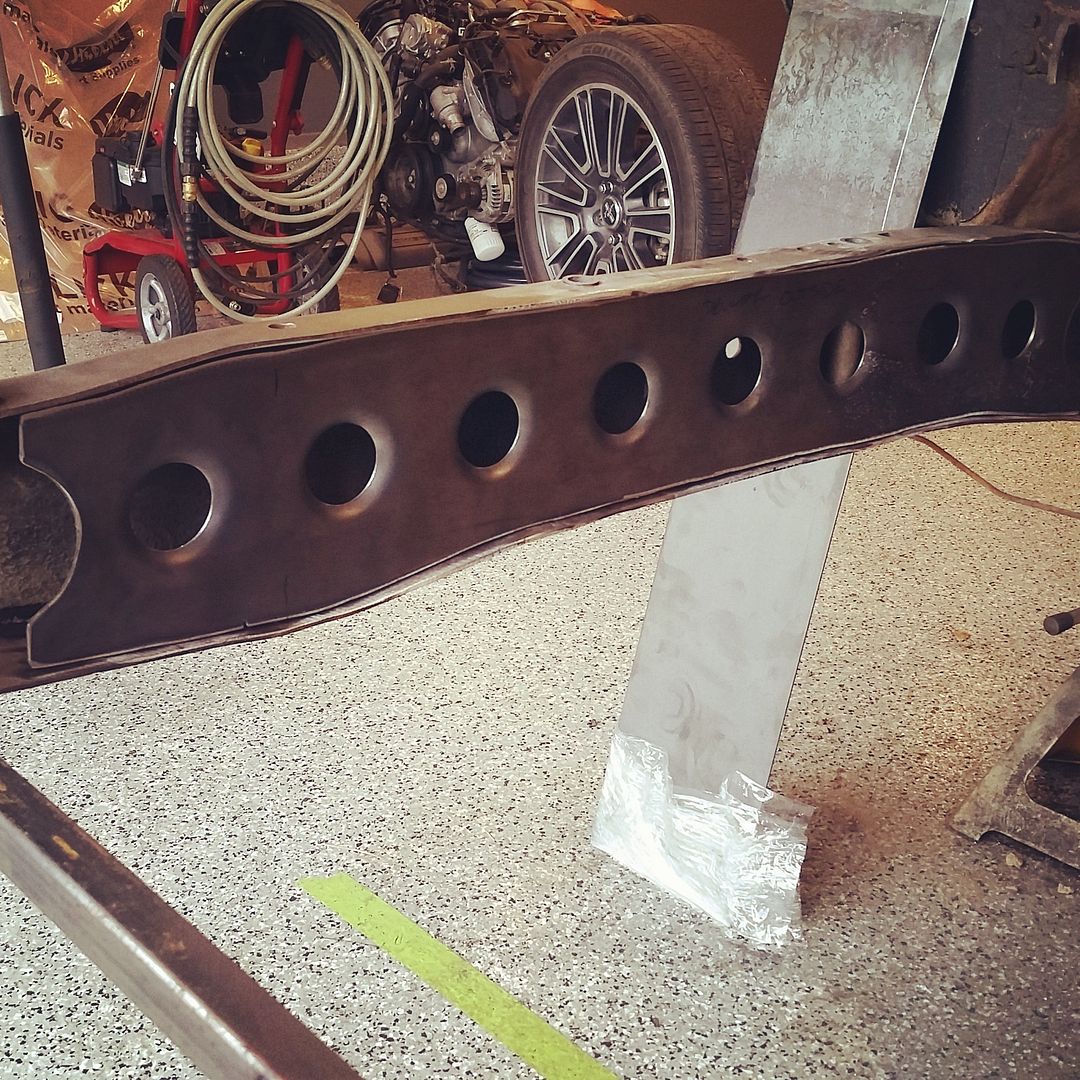
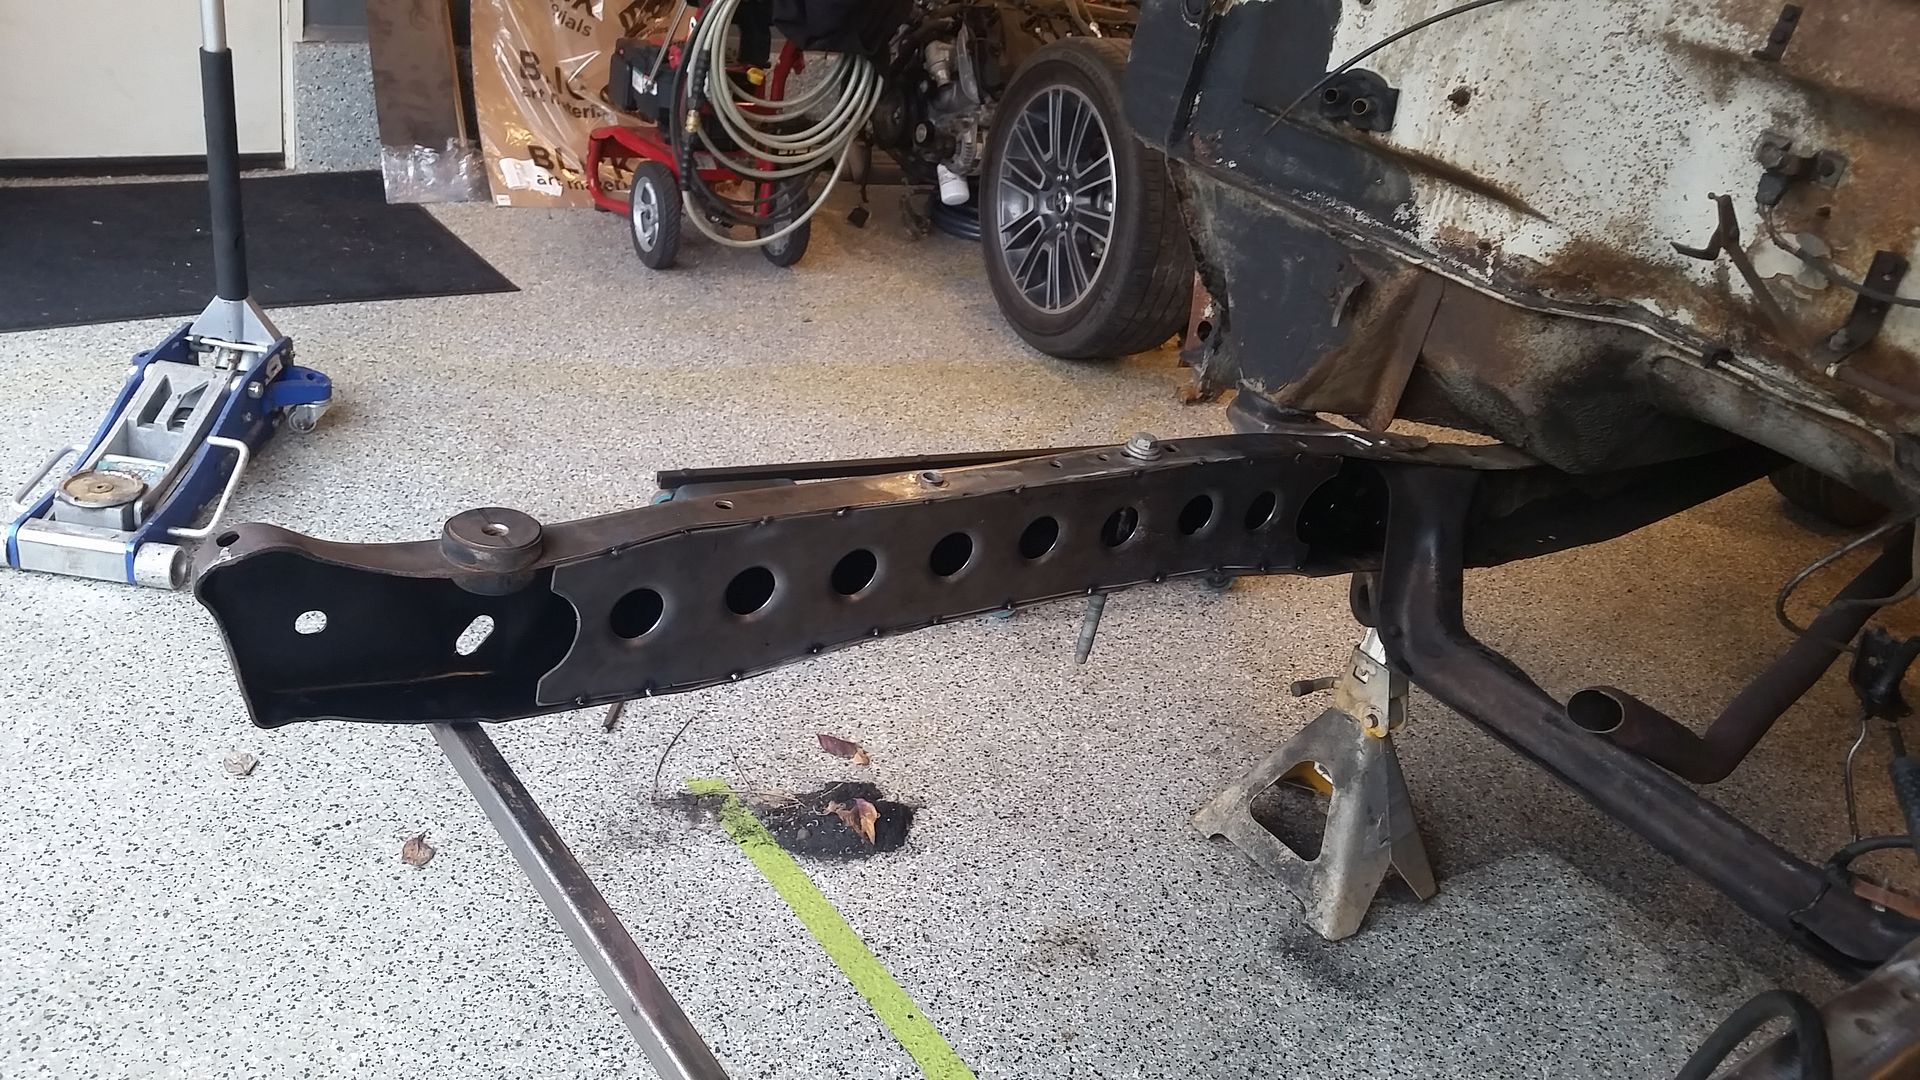
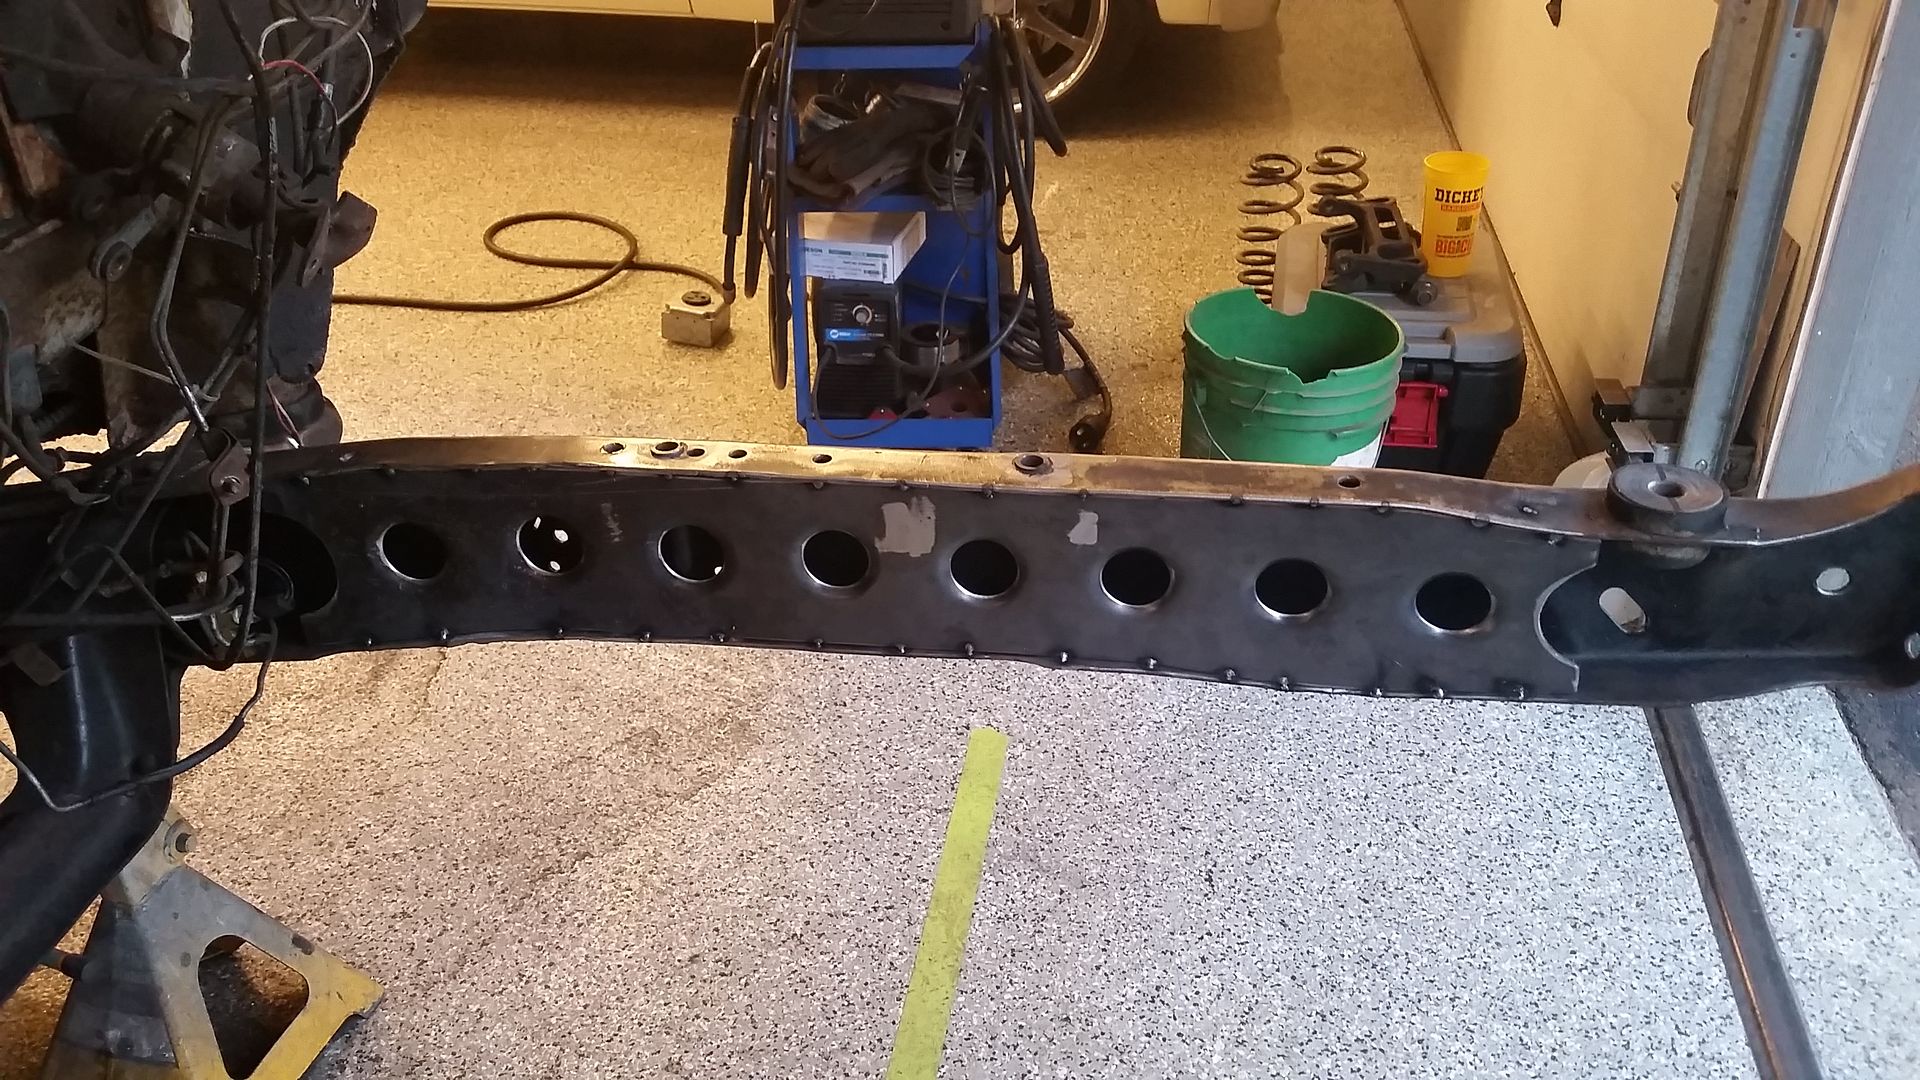
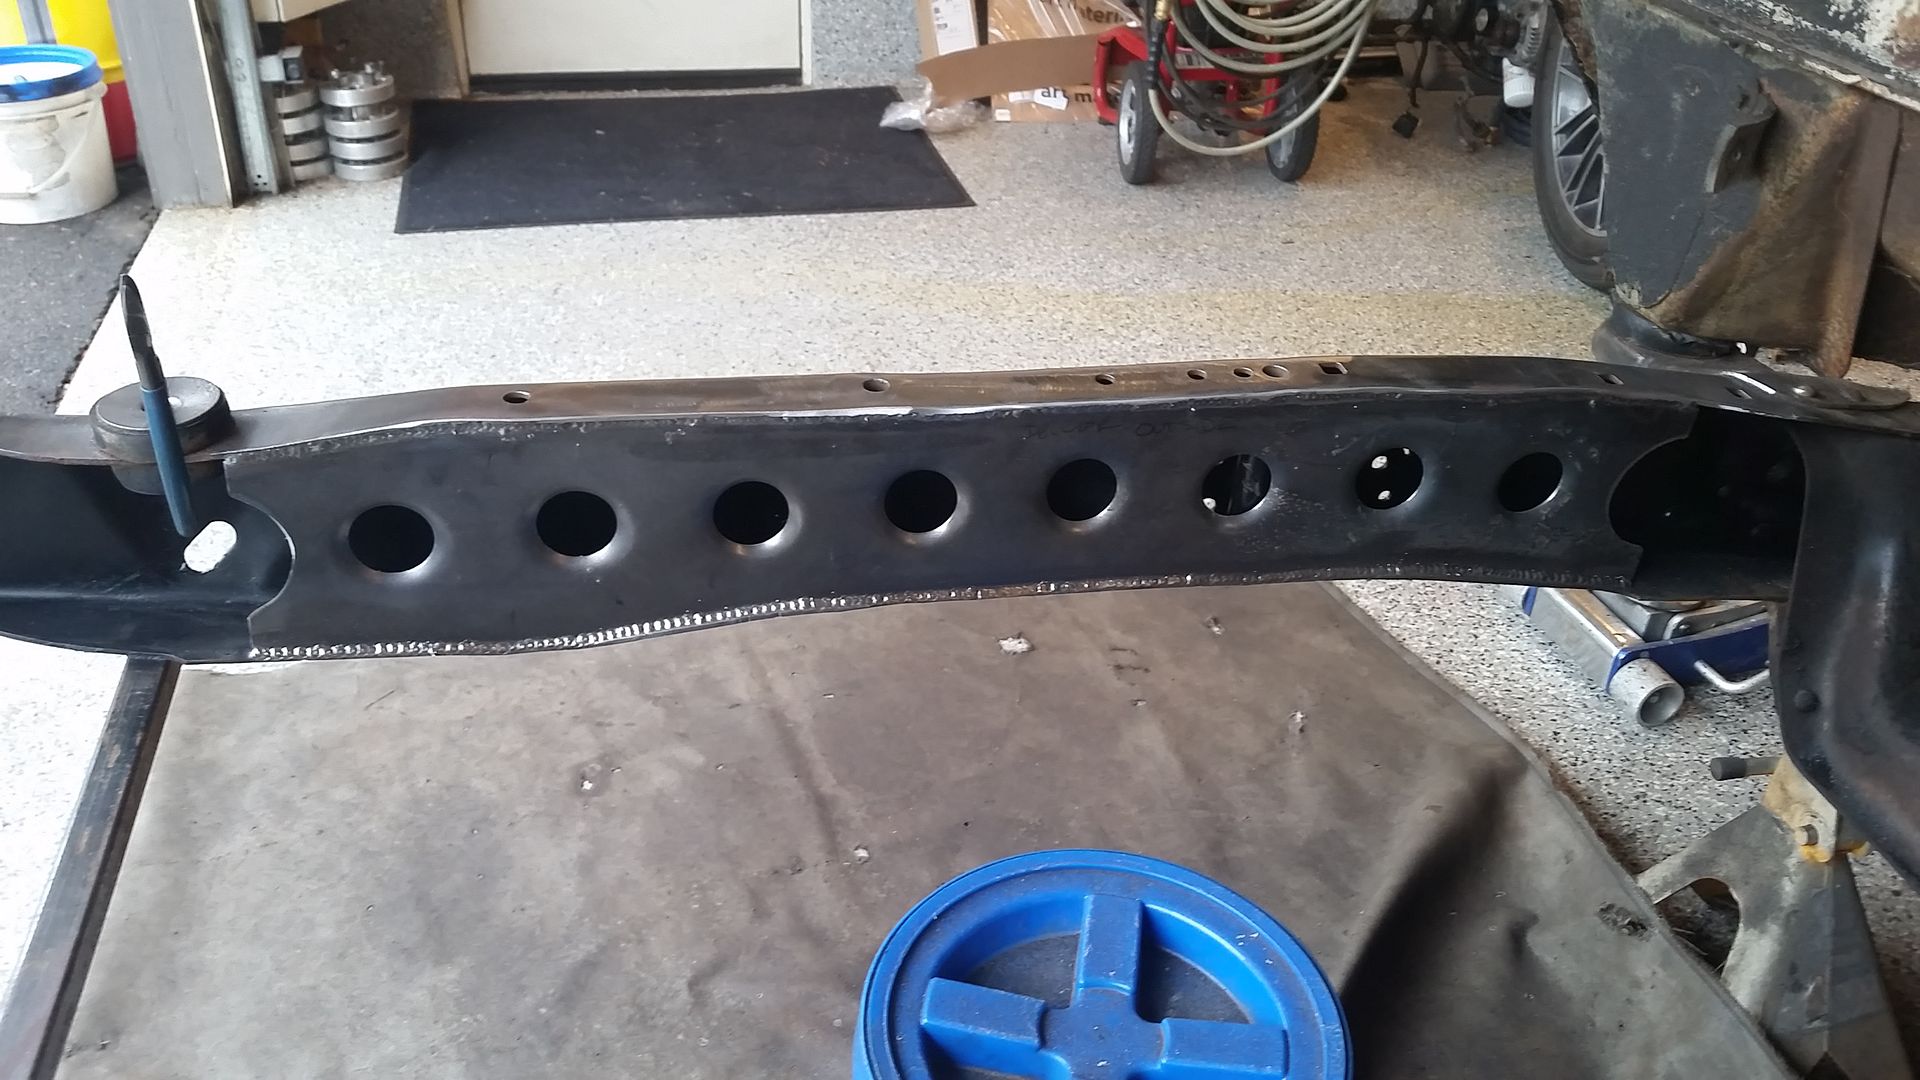
Even with a messed up back I managed to get a fair bit of tedious work done today. Got the frame tubes welded in, mocked up the front sway bar, drilled the holes and welded the nuts in from the backside.

Then got to work on the frame boxing plates.

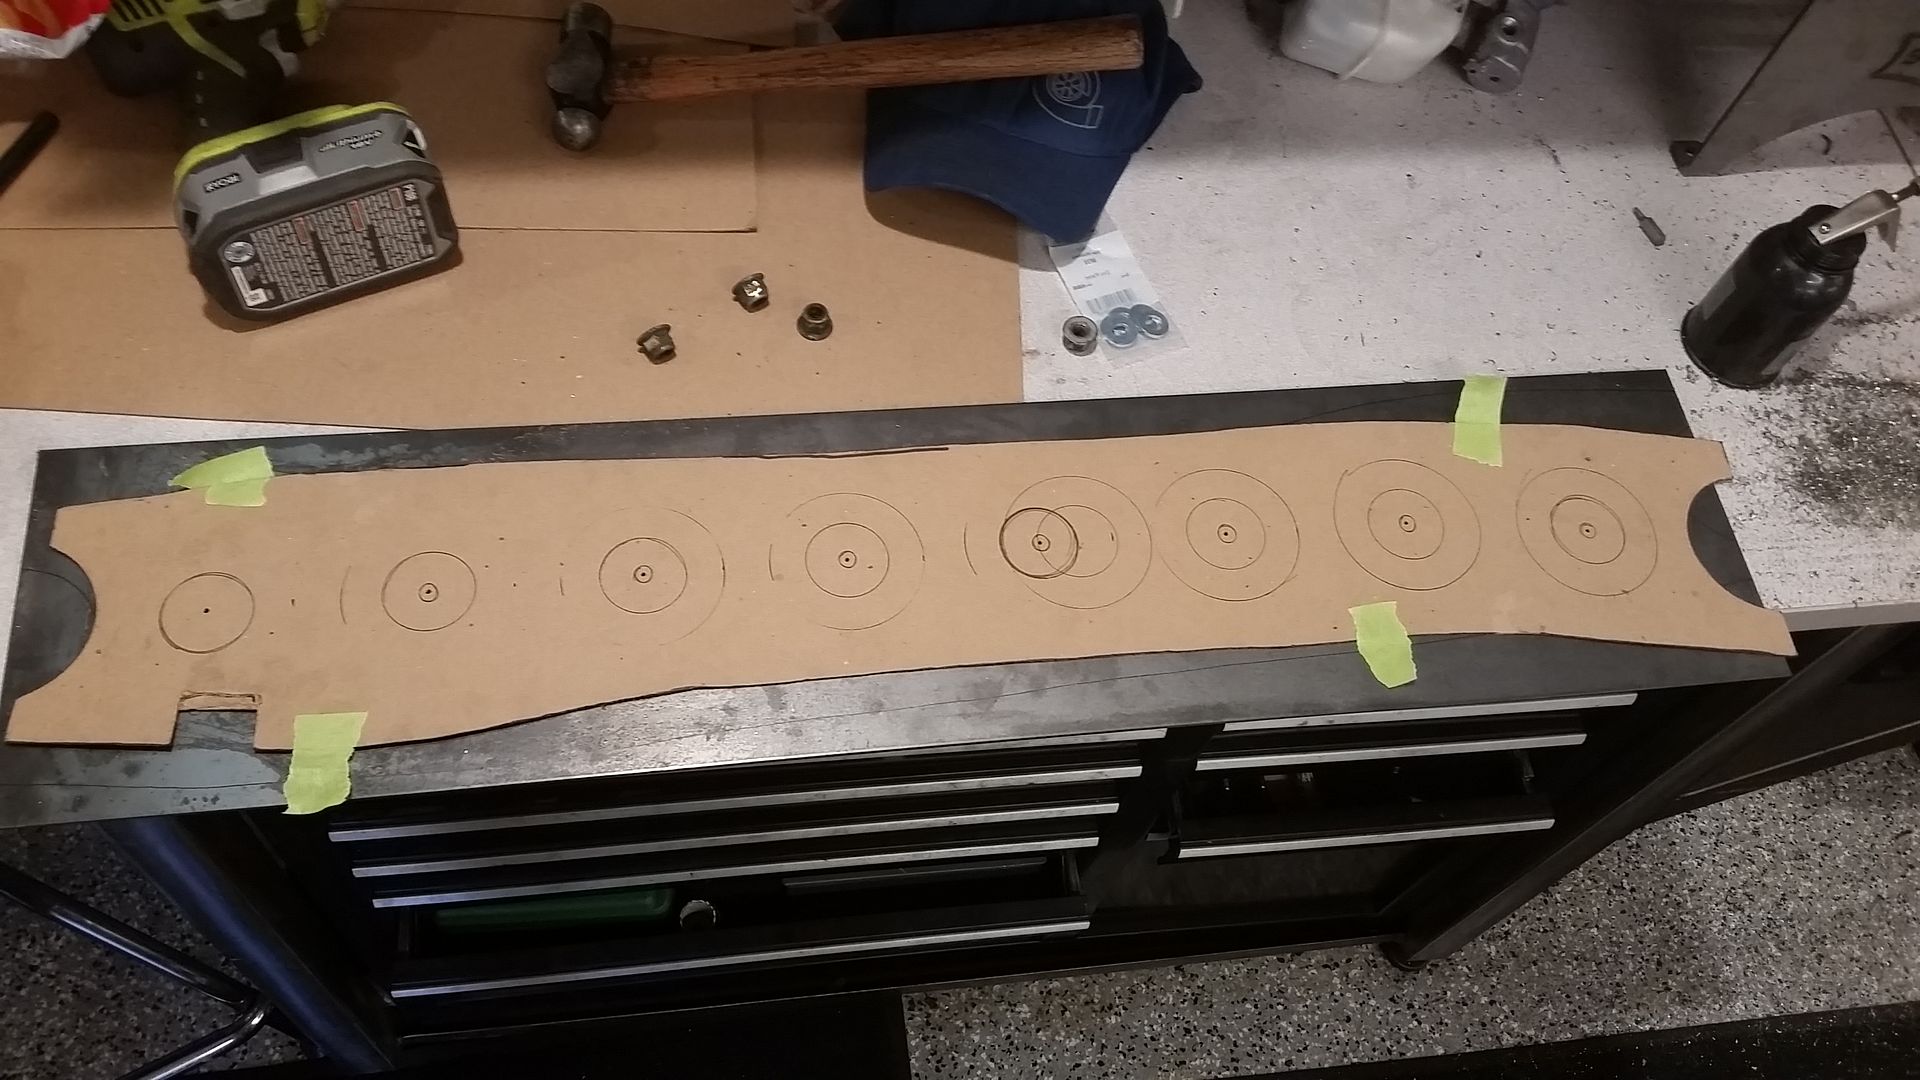
Built a template first from Chipboard and laid out my pattern.

Image

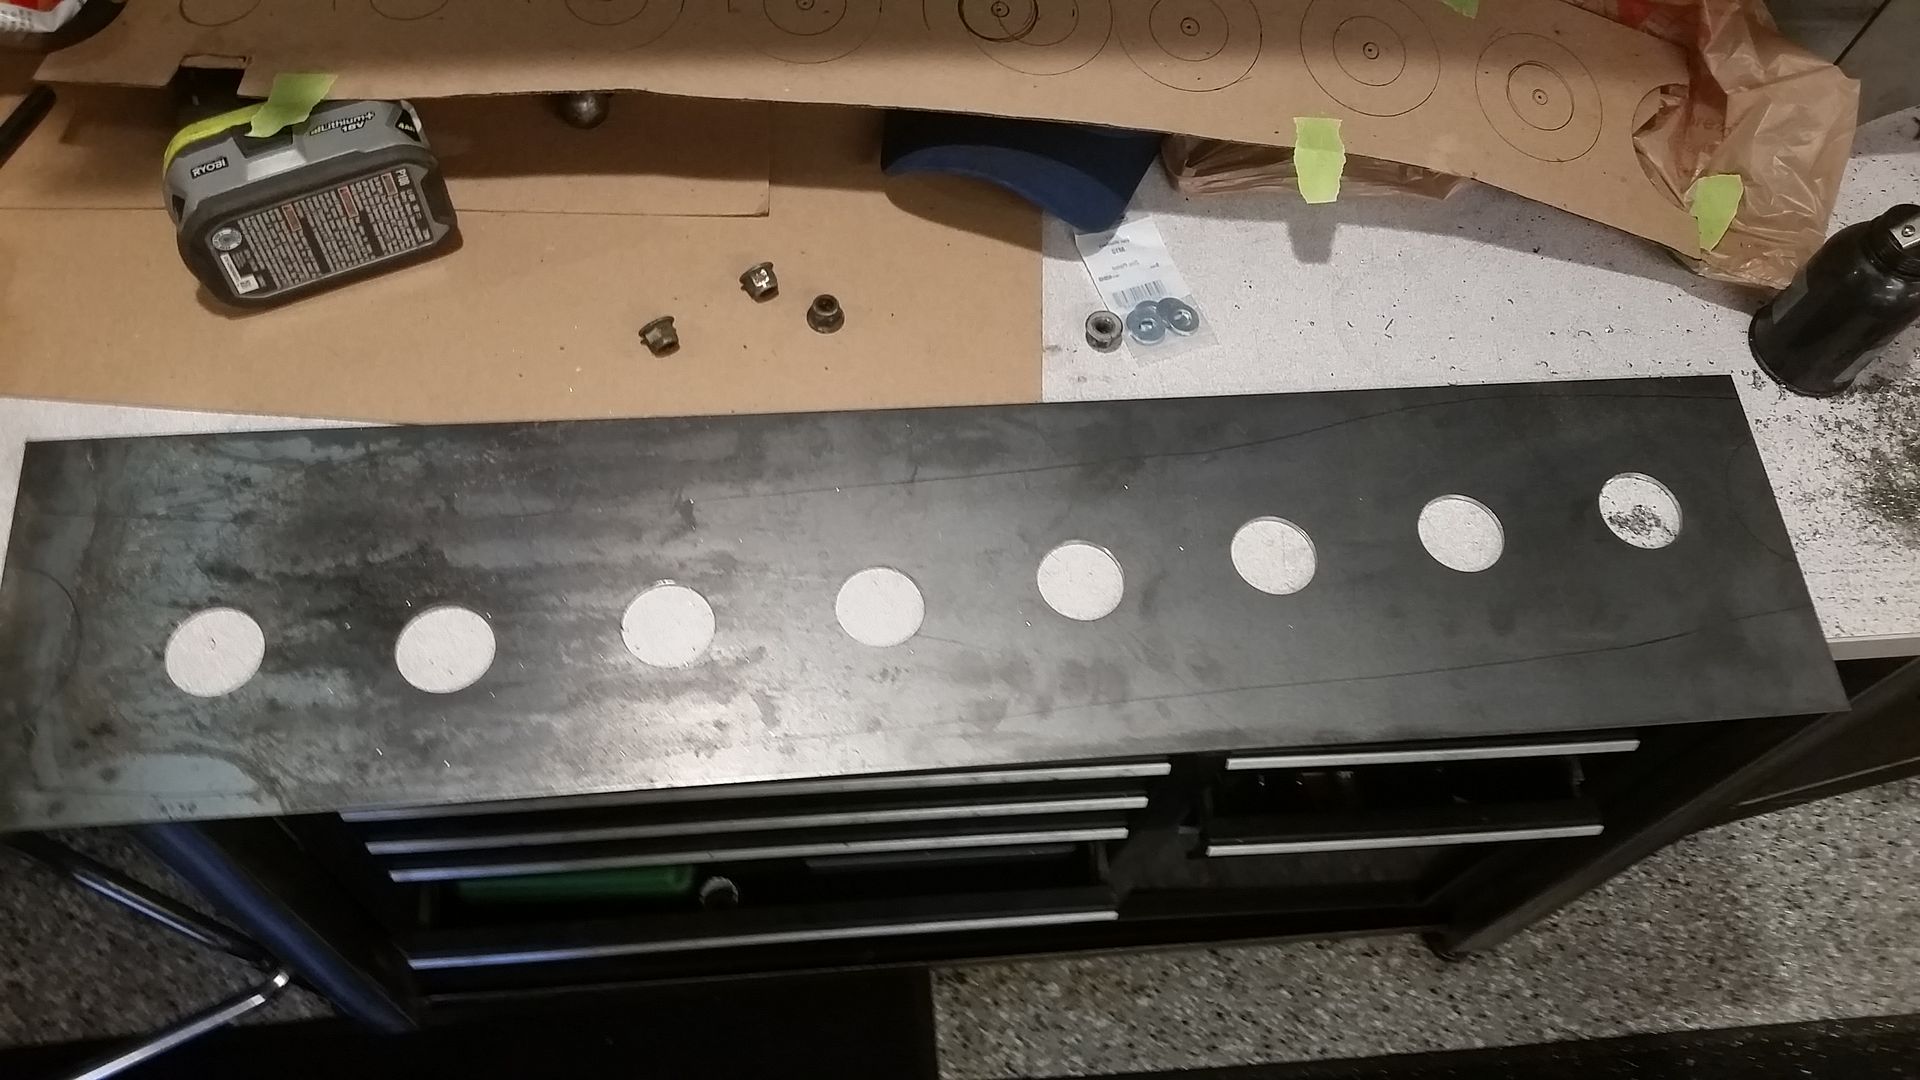
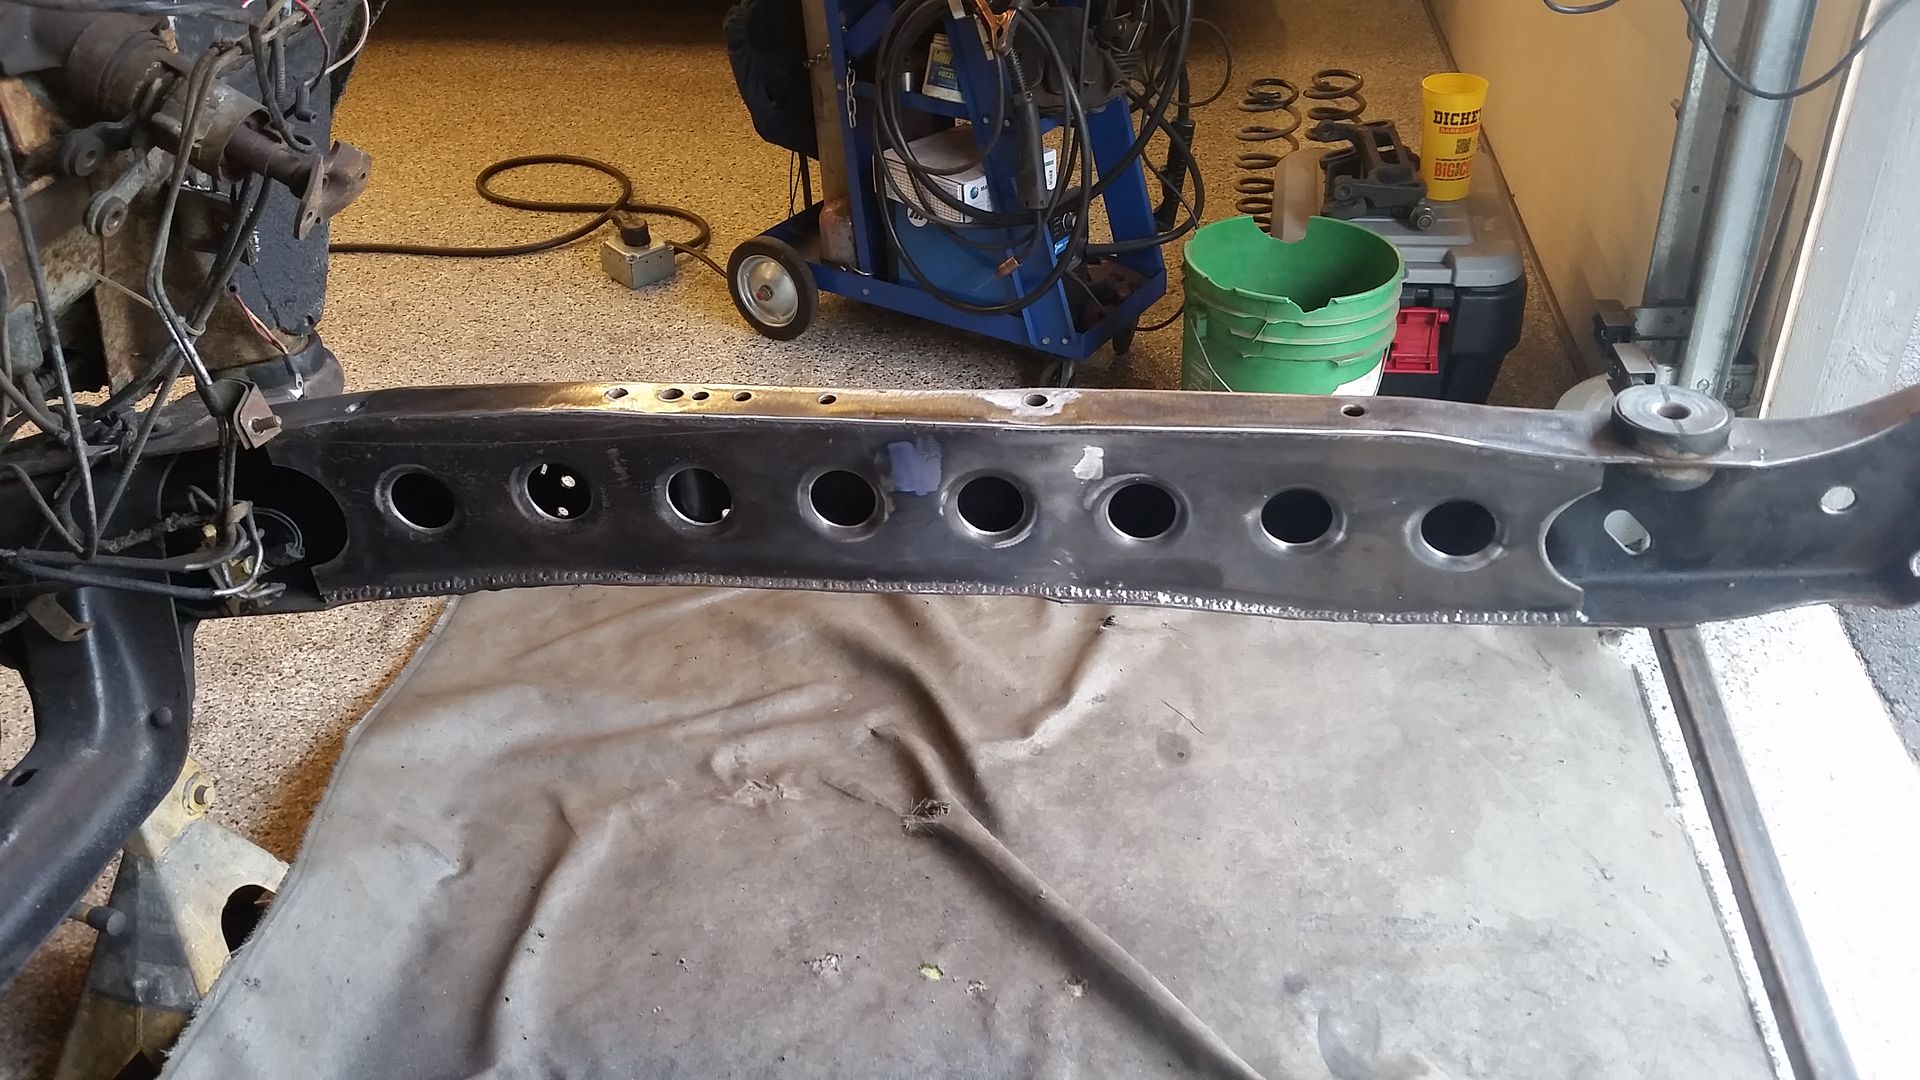
Transfer the pattern to the plate and start drilling lots of 1.5" holes.

Image

A trip to the press with some dimple dies and a test fit into framerail and do the final fitup on the passenger side

Image

Tack in place...

Image

Repeat on drivers side

Image

Clean up the shop and call it a day.

Hope to get the frontend all welded out tomorrow and start on making the mounting plates for the lower control arms and get the frontend all bolted in place.

Have 7 days straight to work on the truck.

Sean
IN2FORD
Preferred User
Preferred User
Posts: 345
Joined: Sun Apr 27, 2014 3:54 pm
Location: Cookeville TN

Re: Hackster's F100 #2 CV Swap 6 speed manual and Coyote

Post by IN2FORD »

You are making incredible progress!! I can't seem to get a full day to work on my much less a week. Working two jobs is for the birds however the second job is what pays for my truck so take the good with the bad I guess. Keep it going you are doing some awesome work!!

Barry
User avatar
theletup
New Member
New Member
Posts: 88
Joined: Tue Jun 19, 2012 1:00 am
Location: Post Falls, ID

Re: Hackster's F100 #2 CV Swap 6 speed manual and Coyote

Post by theletup »

Nice work! I was able to keep my cab crossmember with the Tremec 5 Speed. I have about 1" of clearance with the motor tilted back at 3 degrees. I used a manual transmission mount from a 2002 F150 and a universal trans crossmember with a 3" drop from Amazon. The 3" drop is barely enough with the F150 trans mount.

This is the mount I went with: http://www.amazon.com/Trans-Dapt-4539-U ... rossmember

Excited to see your week of progress.
http://SpokaneSaveMore.com
Save More Automotive
hackster
Preferred User
Preferred User
Posts: 317
Joined: Fri Oct 18, 2013 11:21 am

Re: Hackster's F100 #2 CV Swap 6 speed manual and Coyote

Post by hackster »

Thanks guys.

Ill likely just build my own crossmember since I have a bender here at the house. :D

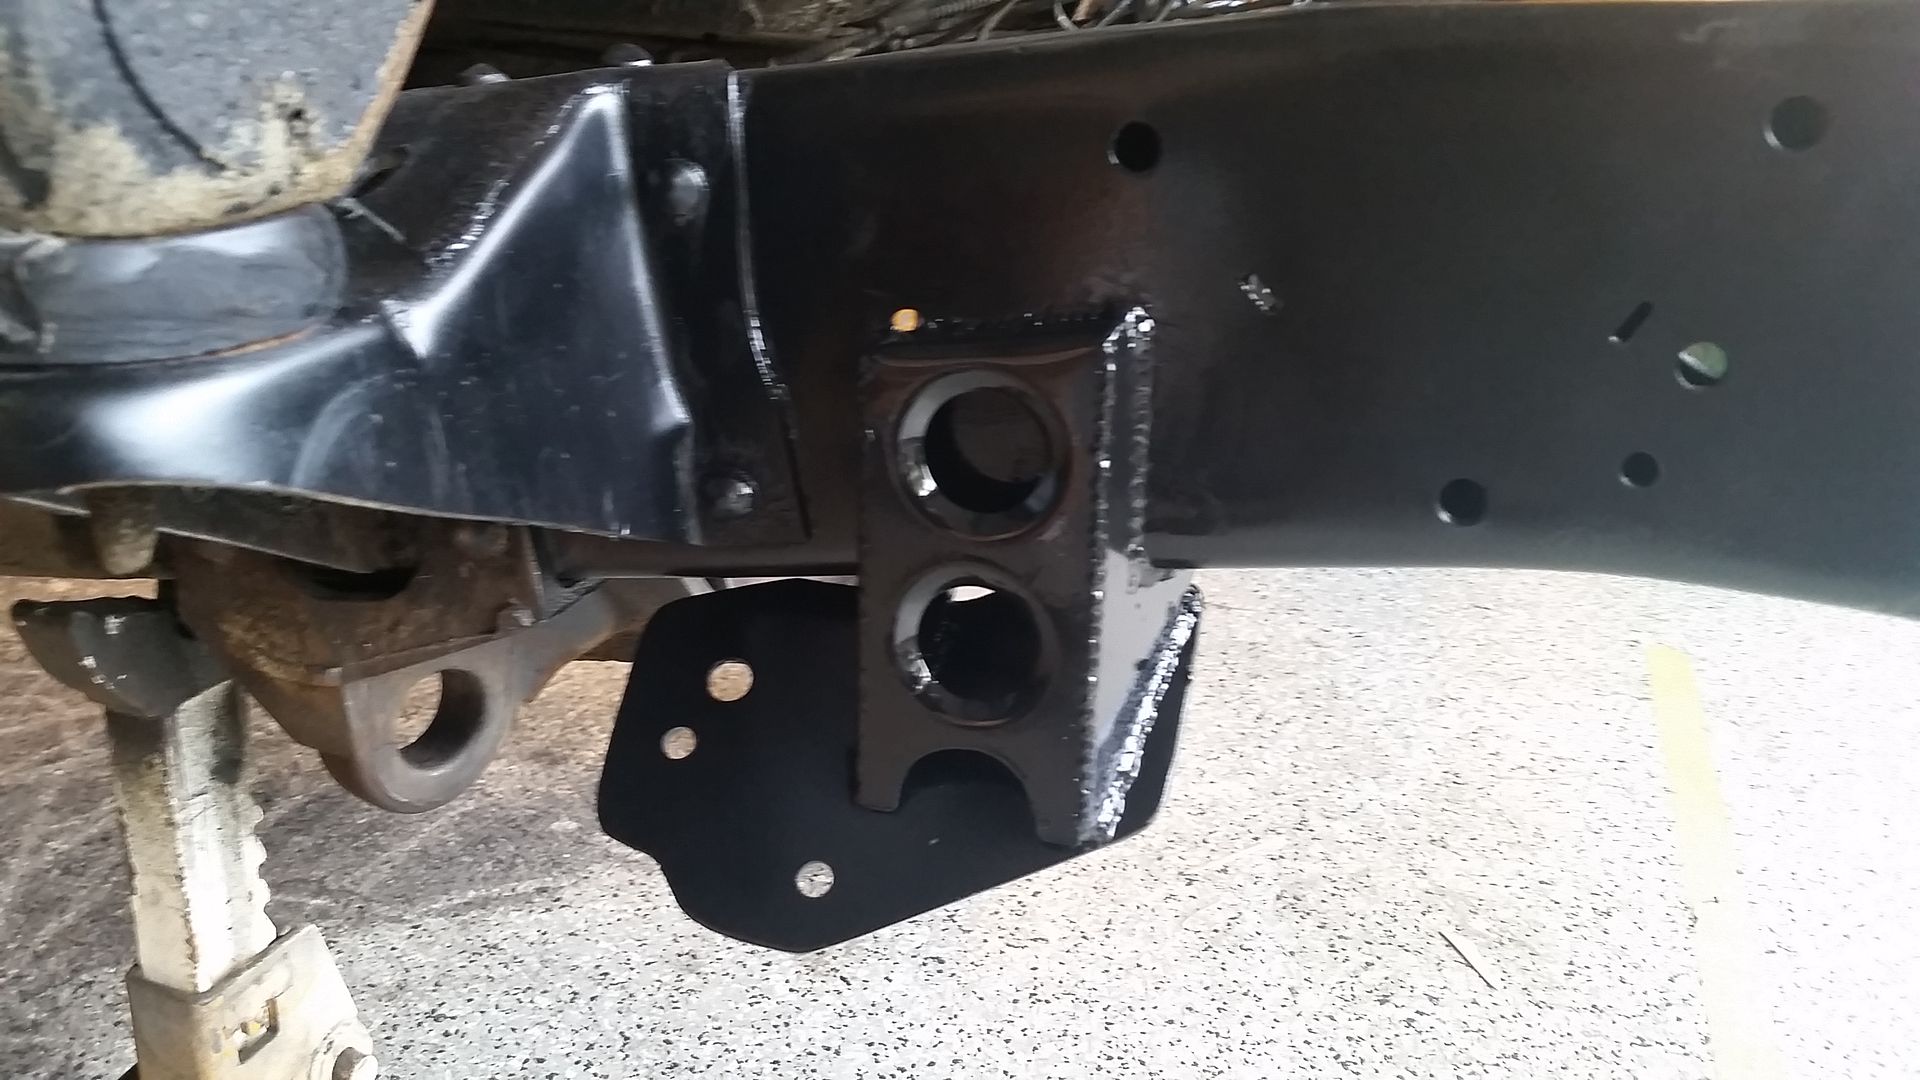
Got out in the shop this morning and got the welder fired up. Alternated top bottom right then left to keep the heat down and even. Not perfect but welding on some old ***** metal on the truck frame turned out ok.

Image

Image

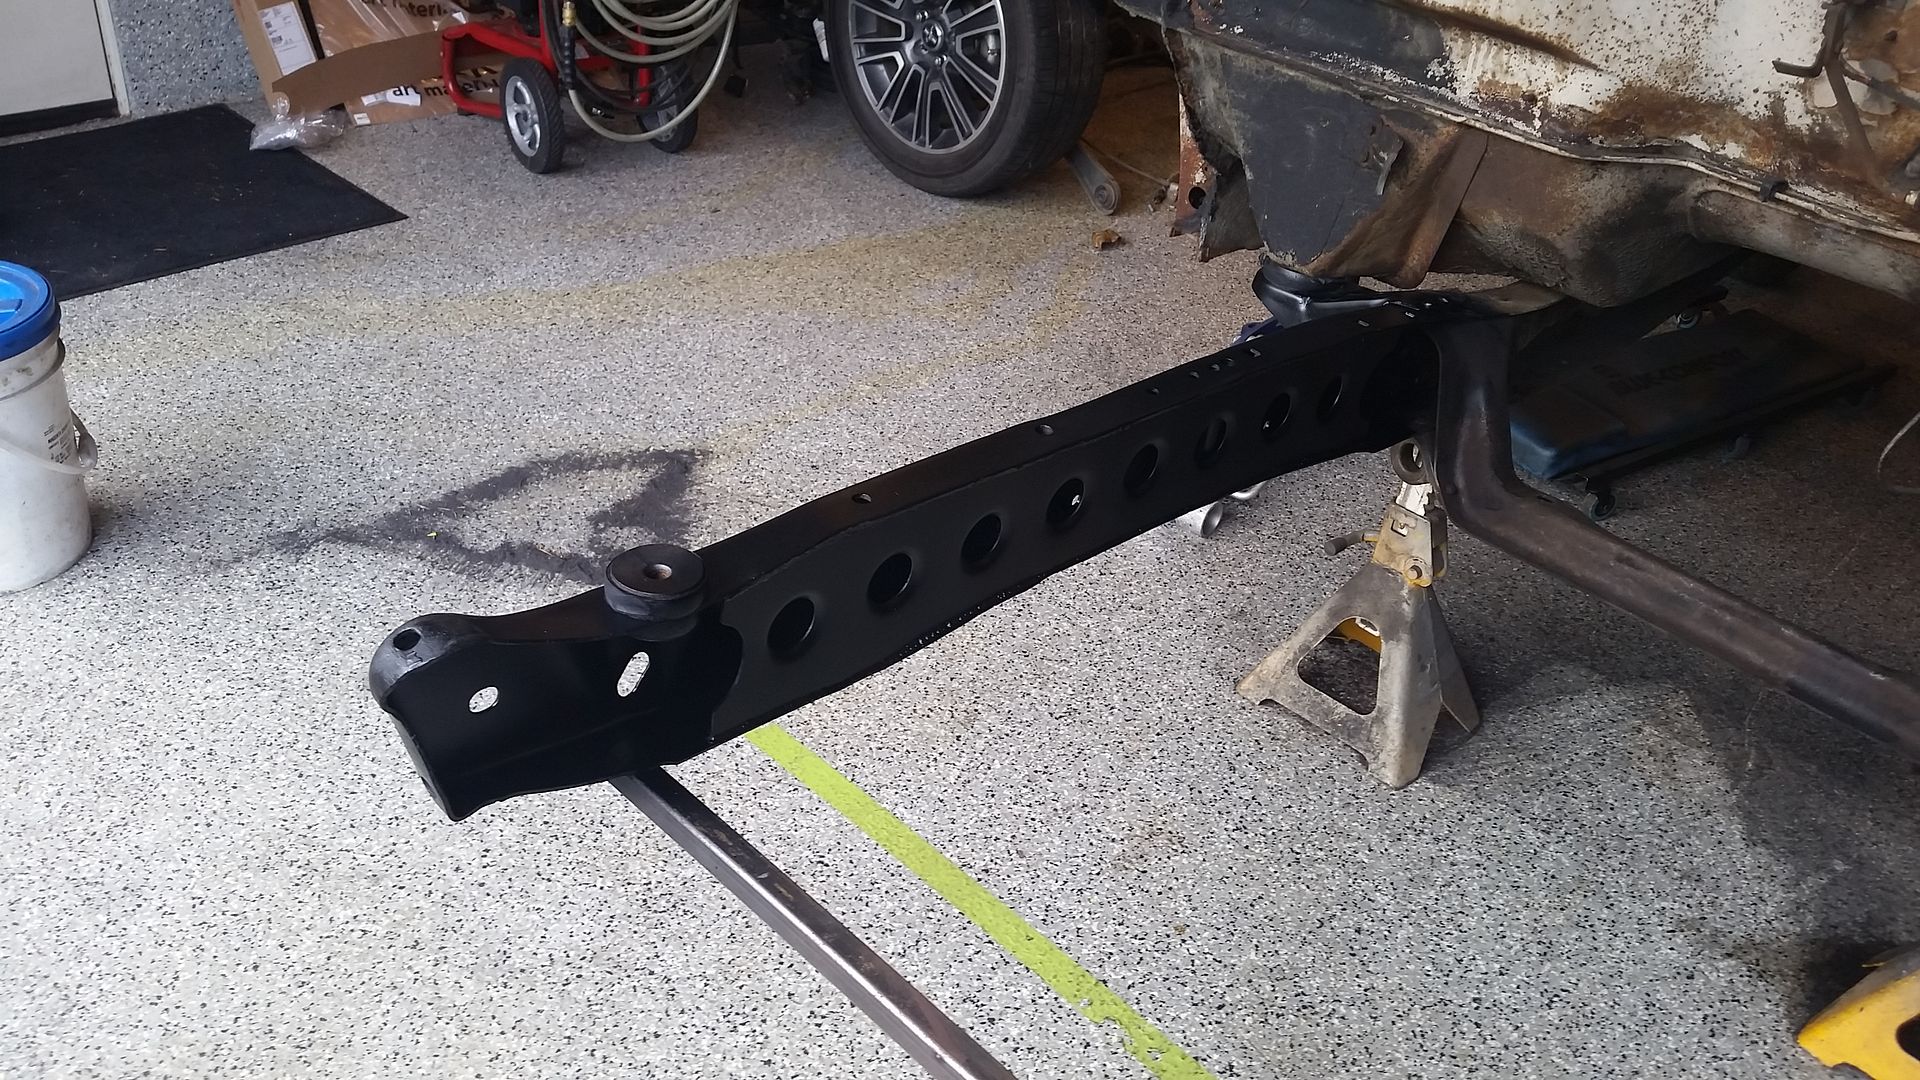
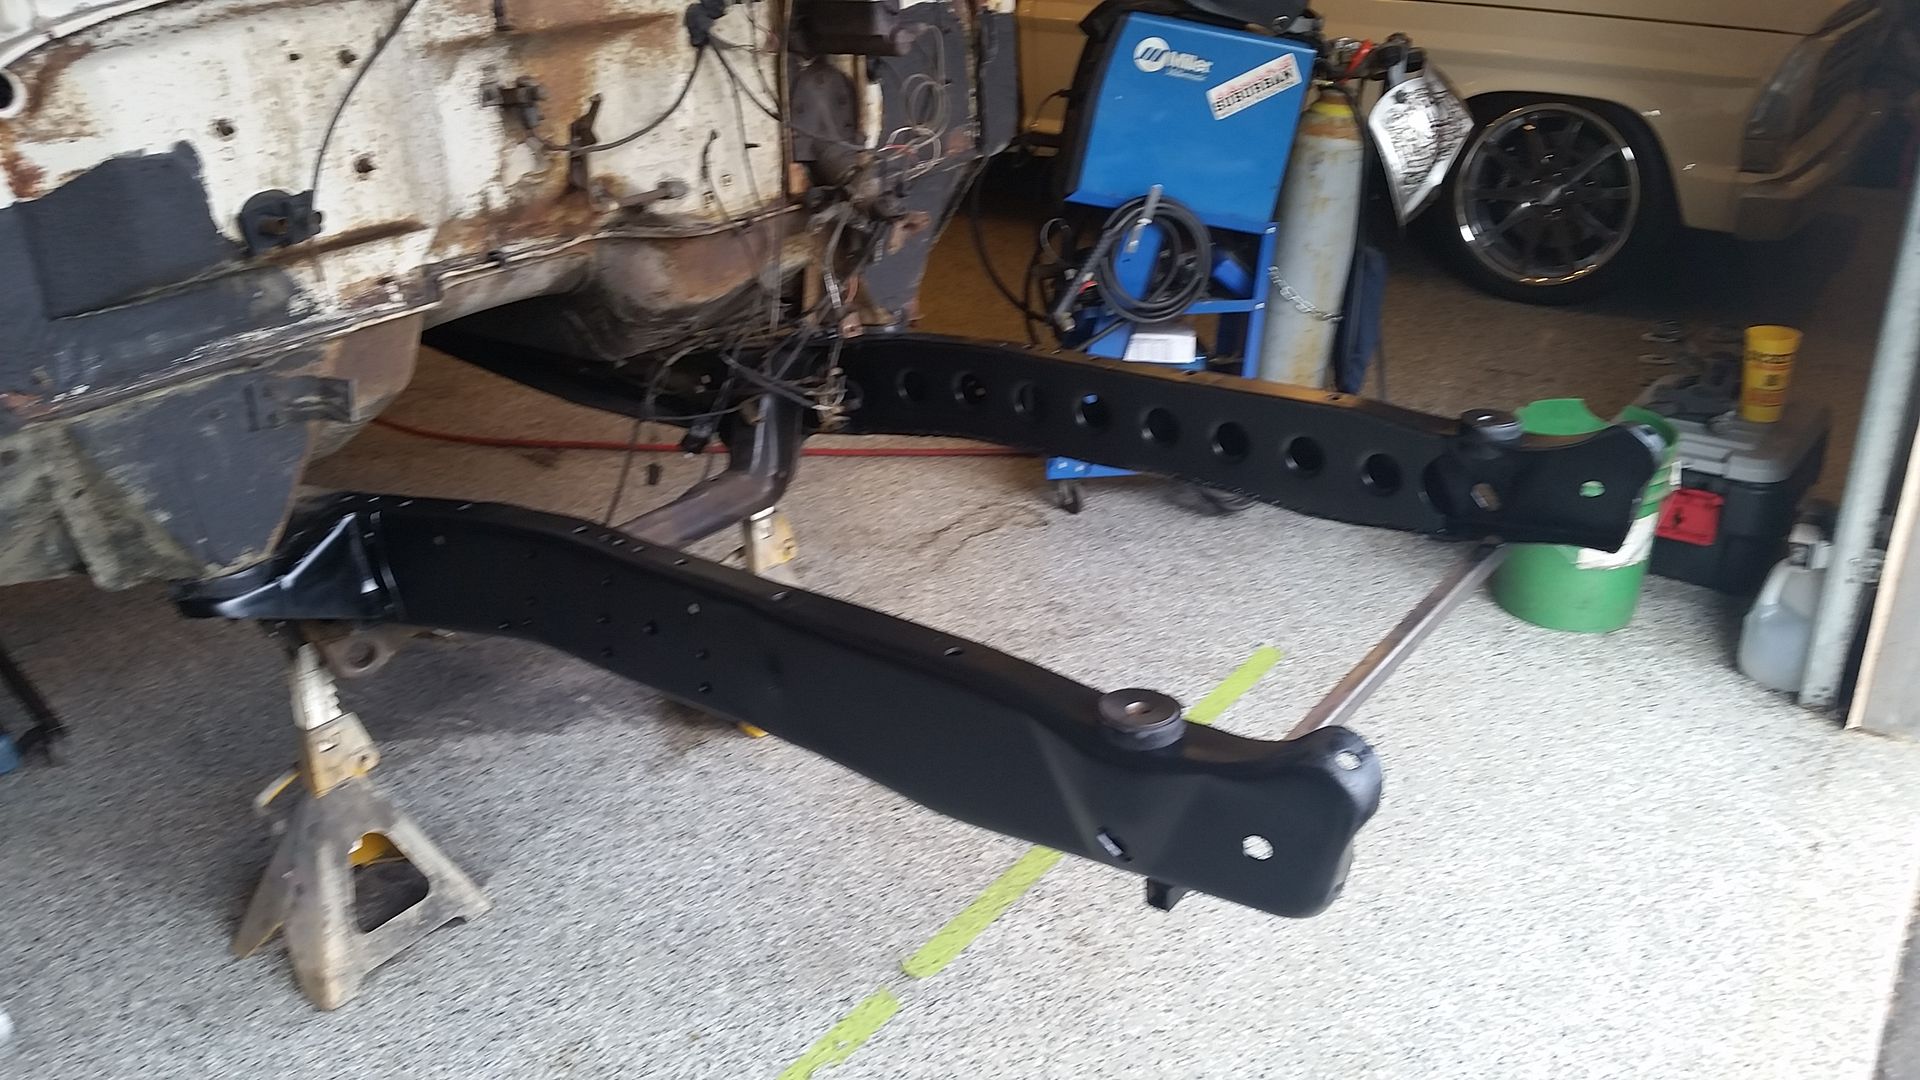
Got some paint on the front of the frame. Trying something different on this one with some Rustoleum 2x satin black. Have used in on some other projects and its been great. Not high end, this build is not supposed to be fancy, its supposed to be a driver.

Image

Image

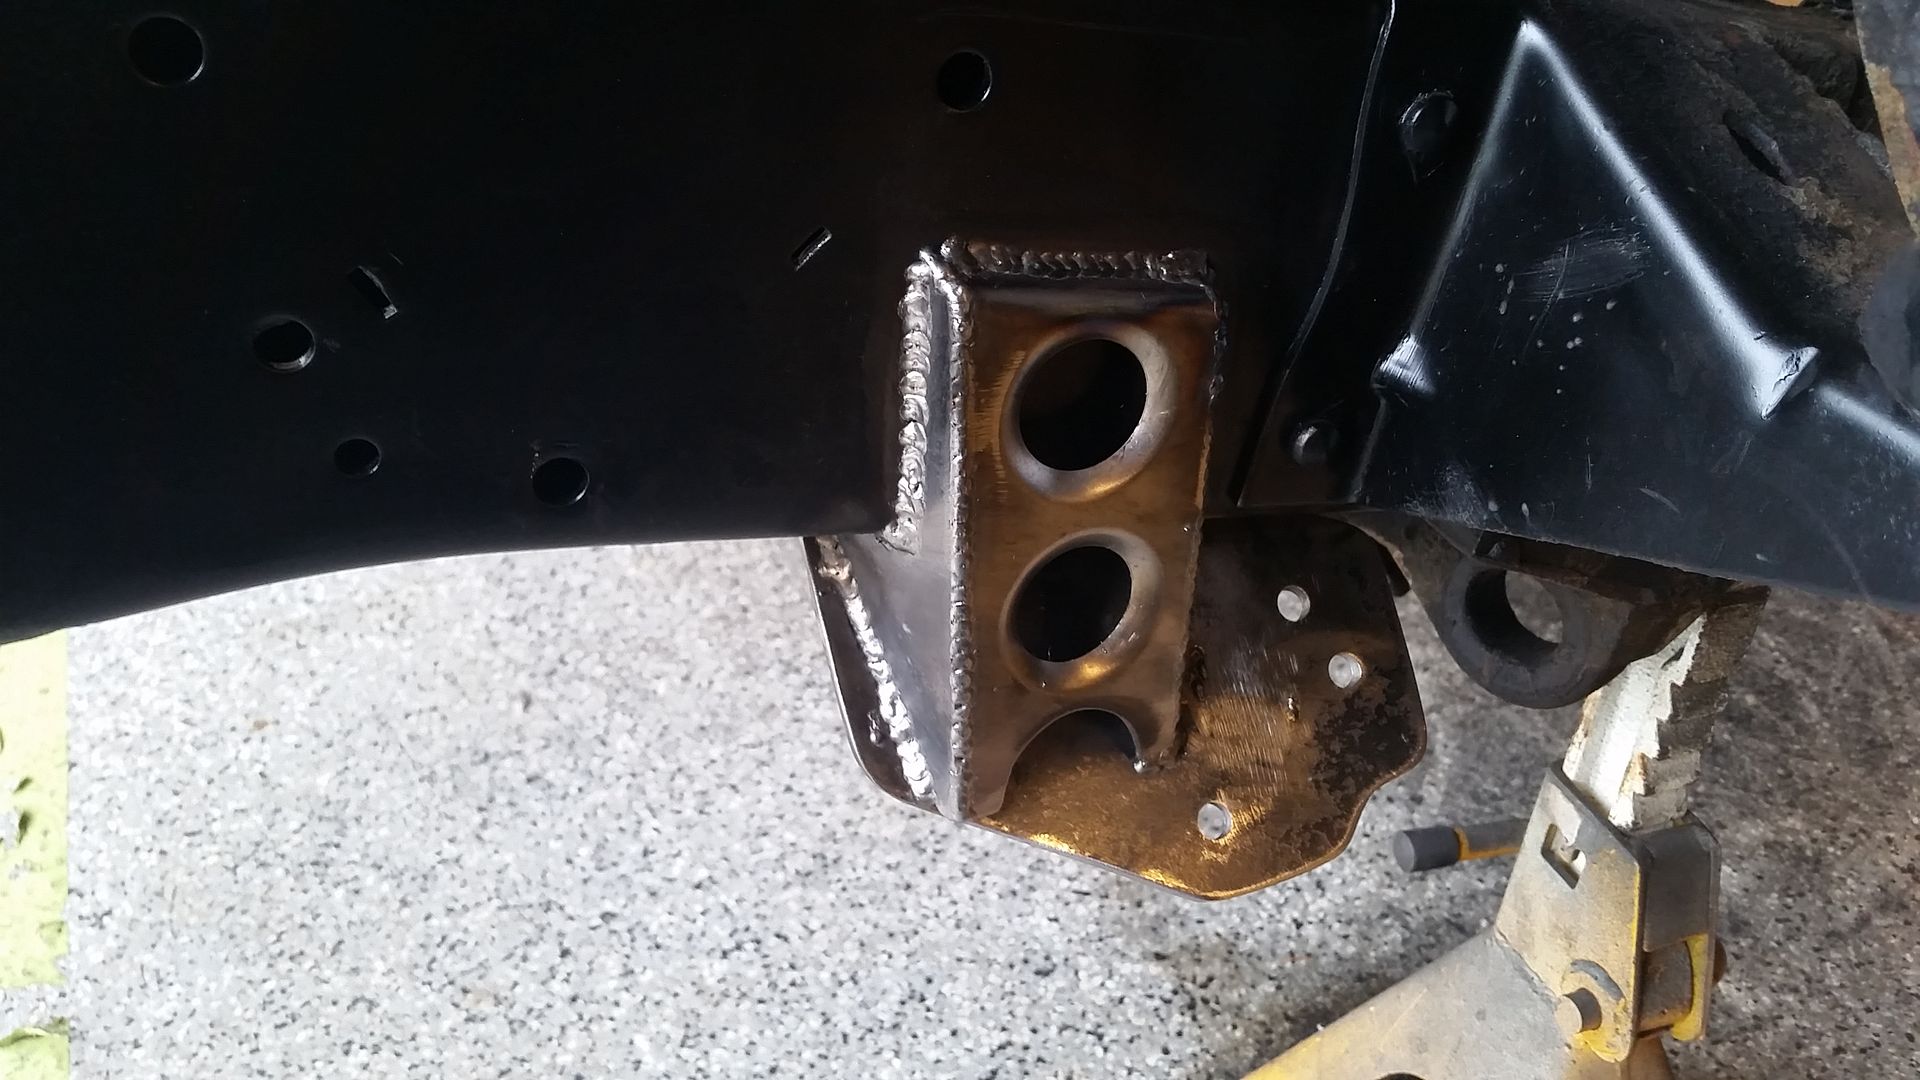
Got the frontend under it again......and started on the mounting plates for the trailing arm. Going to keep them rotated on a 45 this time. I think its a little better packaging and I can get better alignment with them mounted correctly....the things you learn by building something a second time.

Since its a race car, its going to have to keep up with the speed holes and dimple dies =)

Image

Little bit of paint on the old girl.

Image

Hope to get the frontend cleaned up and bolted on maybe for good later this evening, but needed a break from the shop for a bit.
hackster
Preferred User
Preferred User
Posts: 317
Joined: Fri Oct 18, 2013 11:21 am

Re: Hackster's F100 #2 CV Swap 6 speed manual and Coyote

Post by hackster »

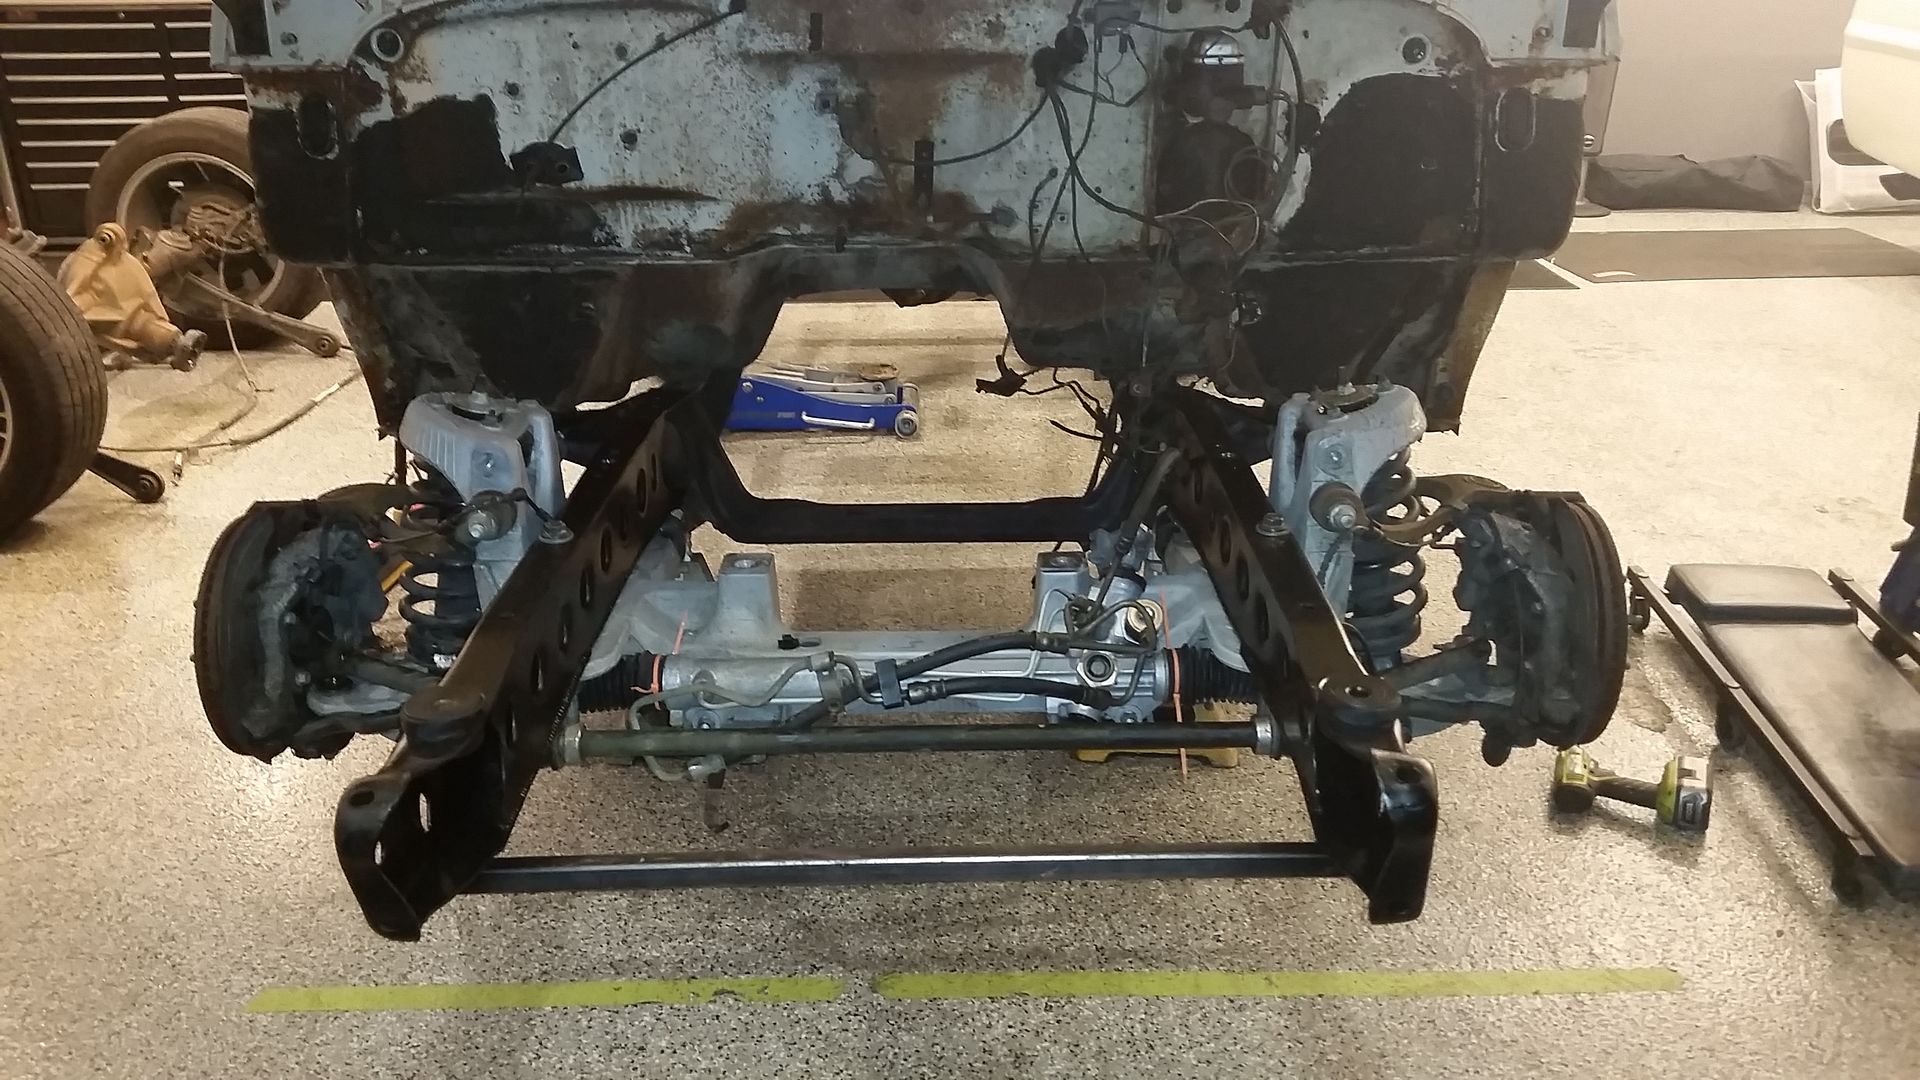
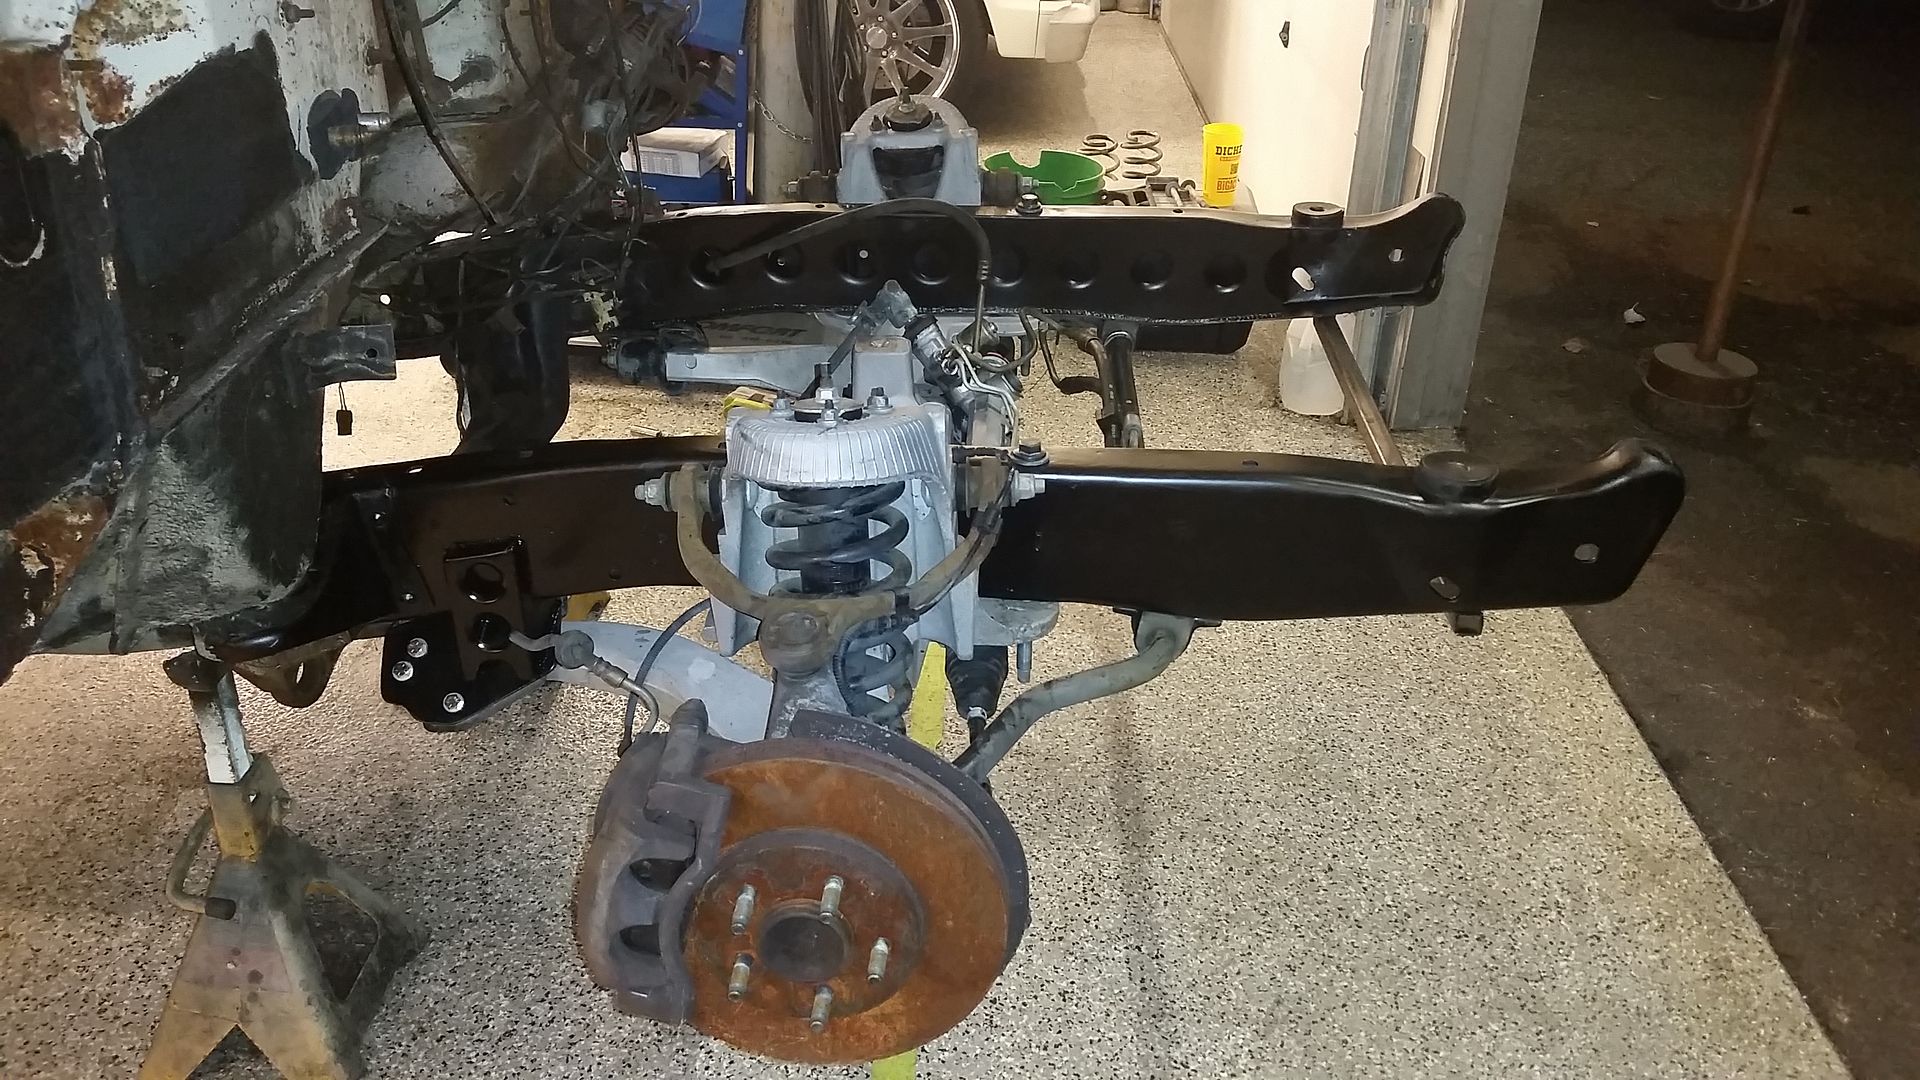
It's not really that impressive but I am pretty stoked with how the frontend has come out so far.

Stock sway bar is bolted on for now, not sure I am going to keep it or run the Addco sway bar.

Image

Image

Gotta work for a few hours in the morning and then back on the truck. I hope to get it flipped around and get to work on the rear of the truck.

Sean
my79f
New Member
New Member
Posts: 13
Joined: Sun Jan 04, 2015 7:59 pm

Re: Hackster's F100 #2 CV Swap 6 speed manual and Coyote

Post by my79f »

This looks great! Is the next truck gonna have a SBF to round out the collection? haha
hackster
Preferred User
Preferred User
Posts: 317
Joined: Fri Oct 18, 2013 11:21 am

Re: Hackster's F100 #2 CV Swap 6 speed manual and Coyote

Post by hackster »

my79f wrote:This looks great! Is the next truck gonna have a SBF to round out the collection? haha
Thanks....not likely going to be building a third truck, if I did, the next one would likely be 4wd with a cummins swap and 4 doors.

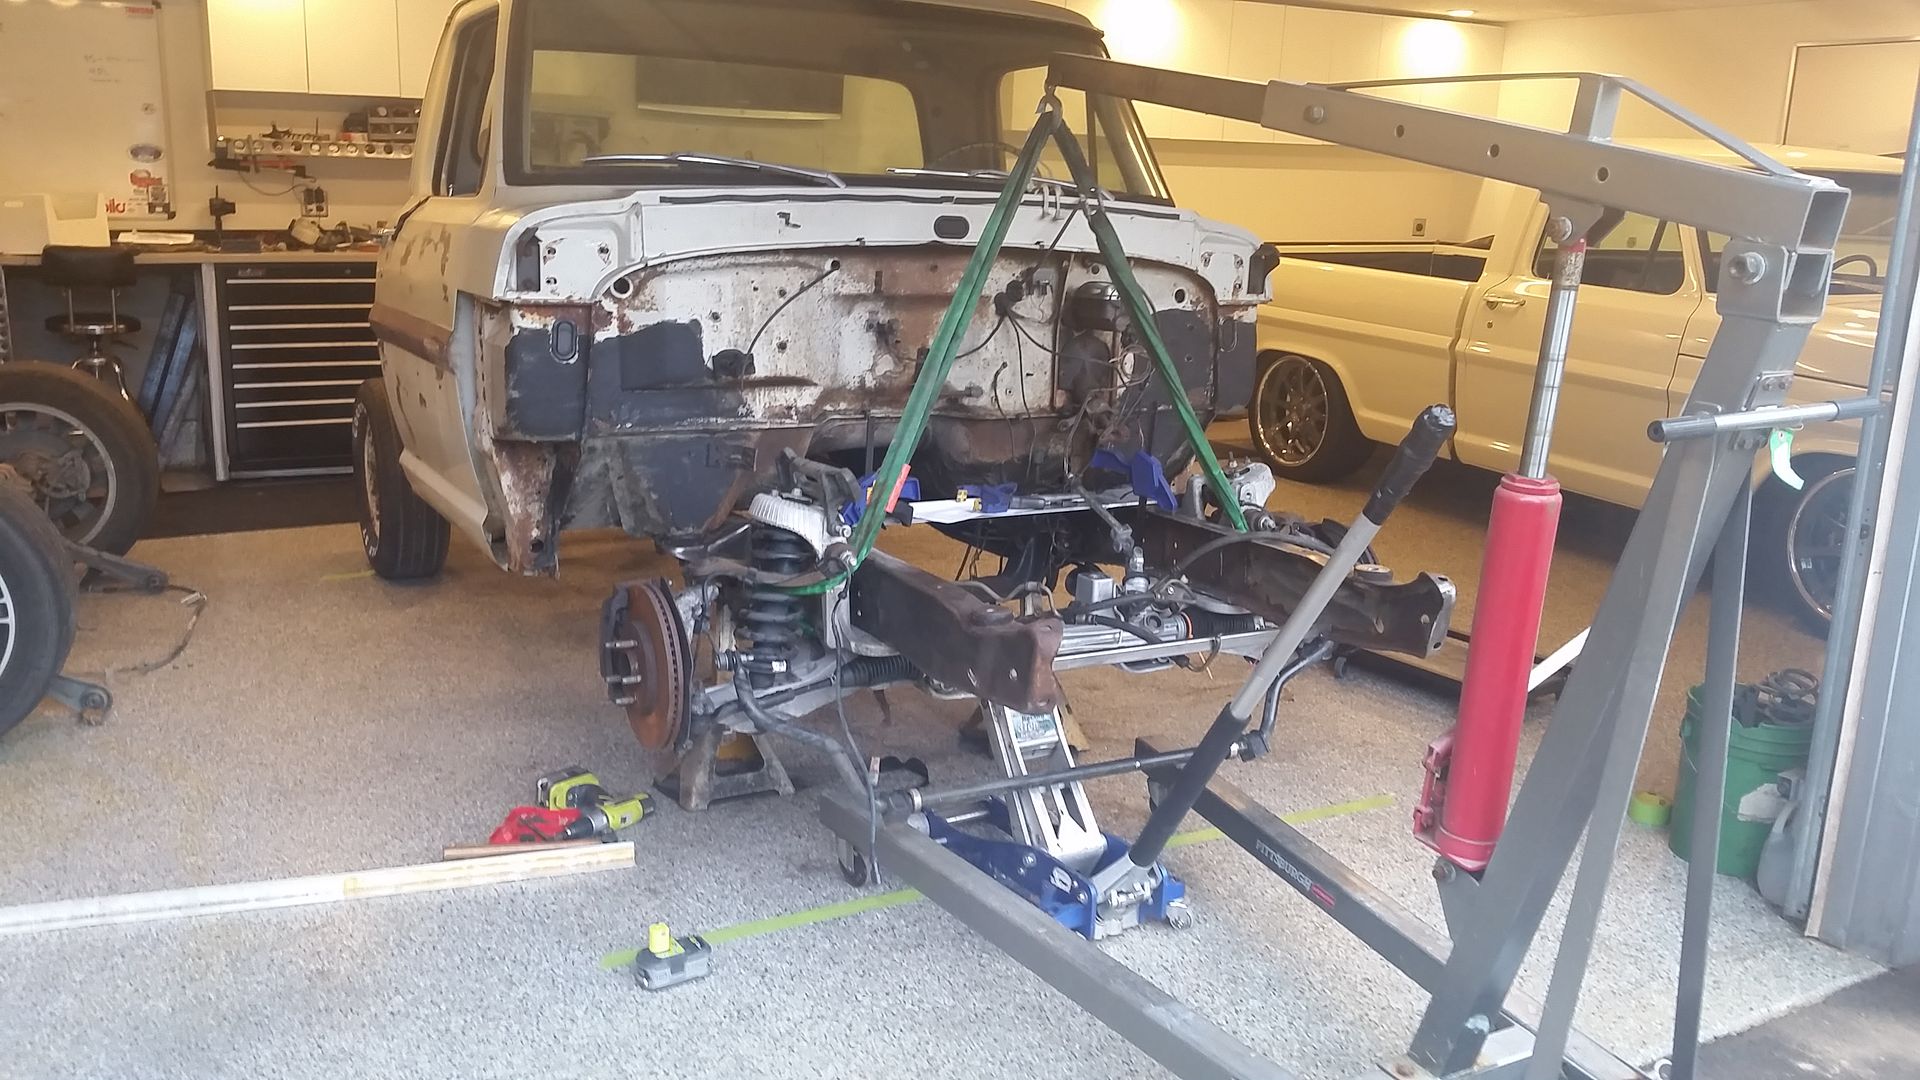
Worked till about 10:30 and then got on the truck. Put some wheels on and dropped that bitch on the ground to get turned around. Got the old frontend loaded up with a little help from Andrew and we pushed the truck out and flipped it around so I can get to work on the rear of the truck.

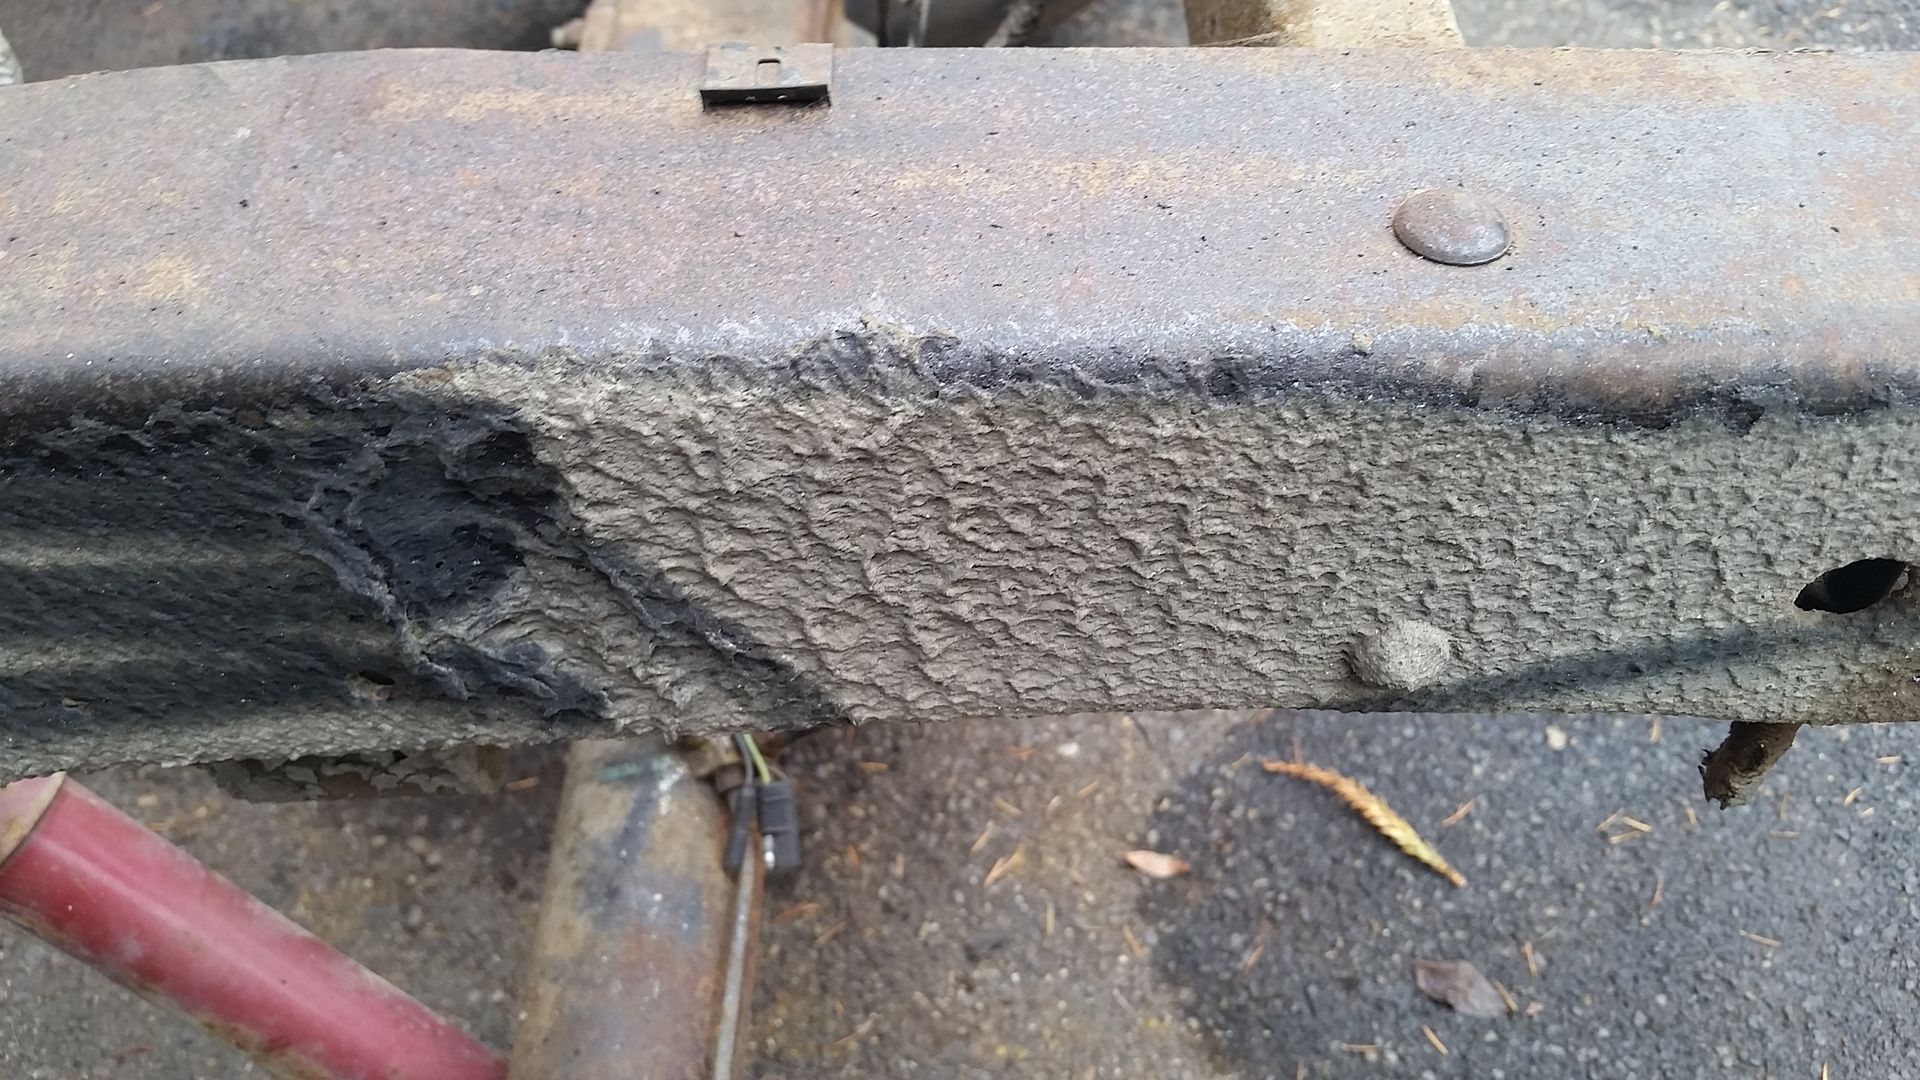
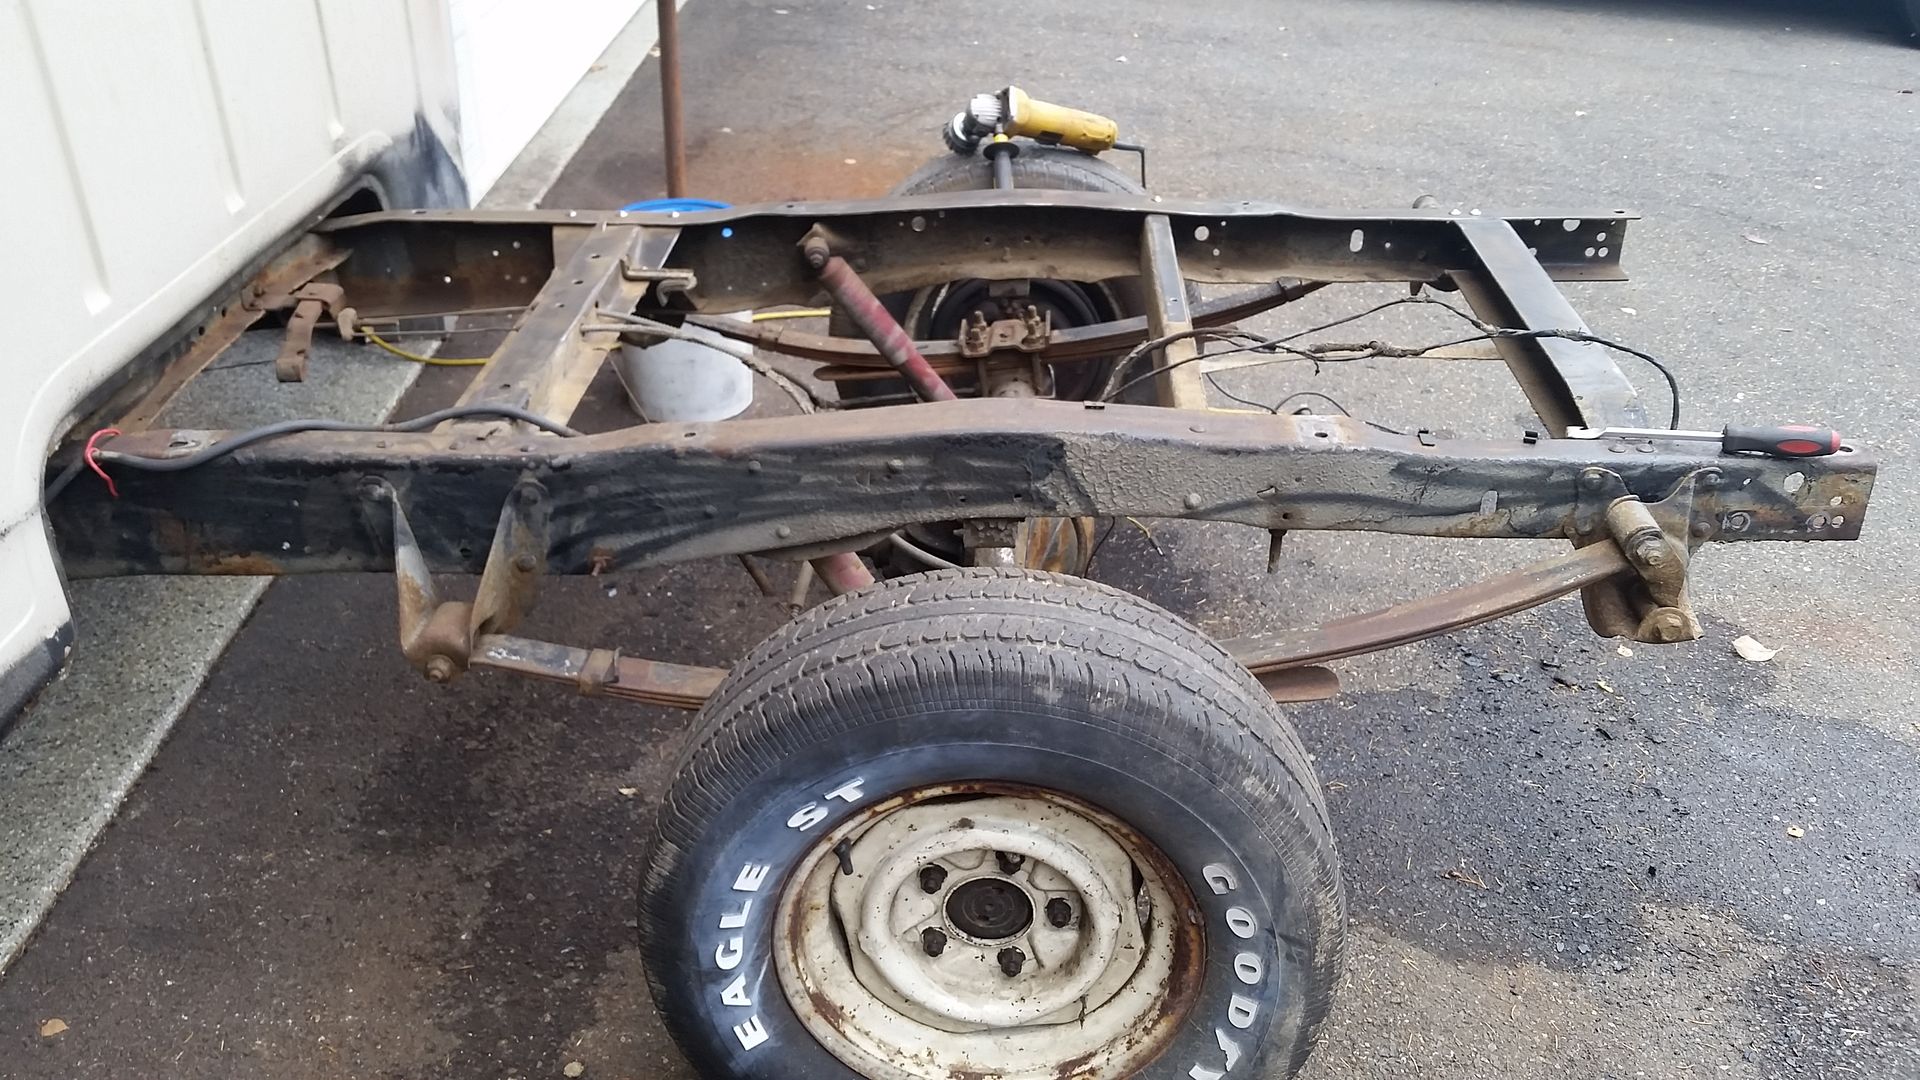
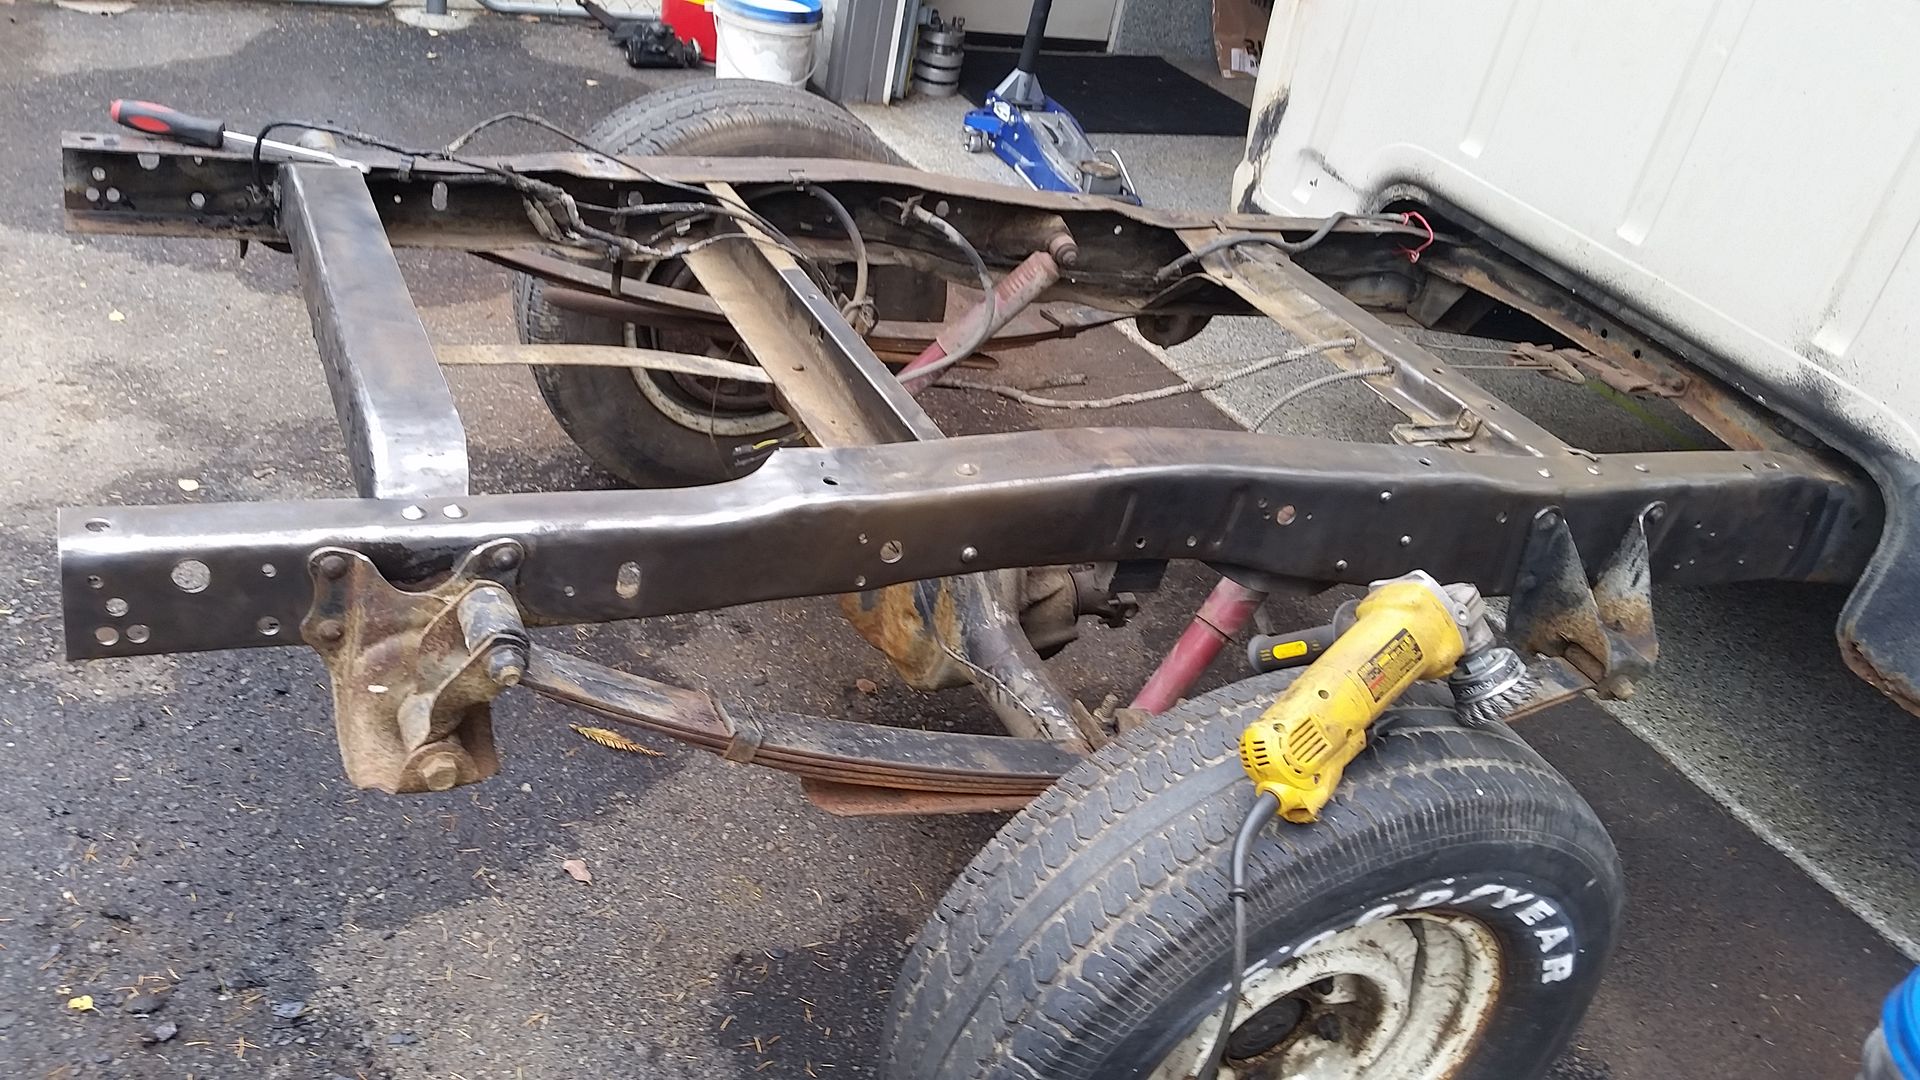
First up was cleaning off more of that god awful undercoating off. The good news is that I have a frame in like new condition under all of that crap

Here is what it looked like before.

Image

Image

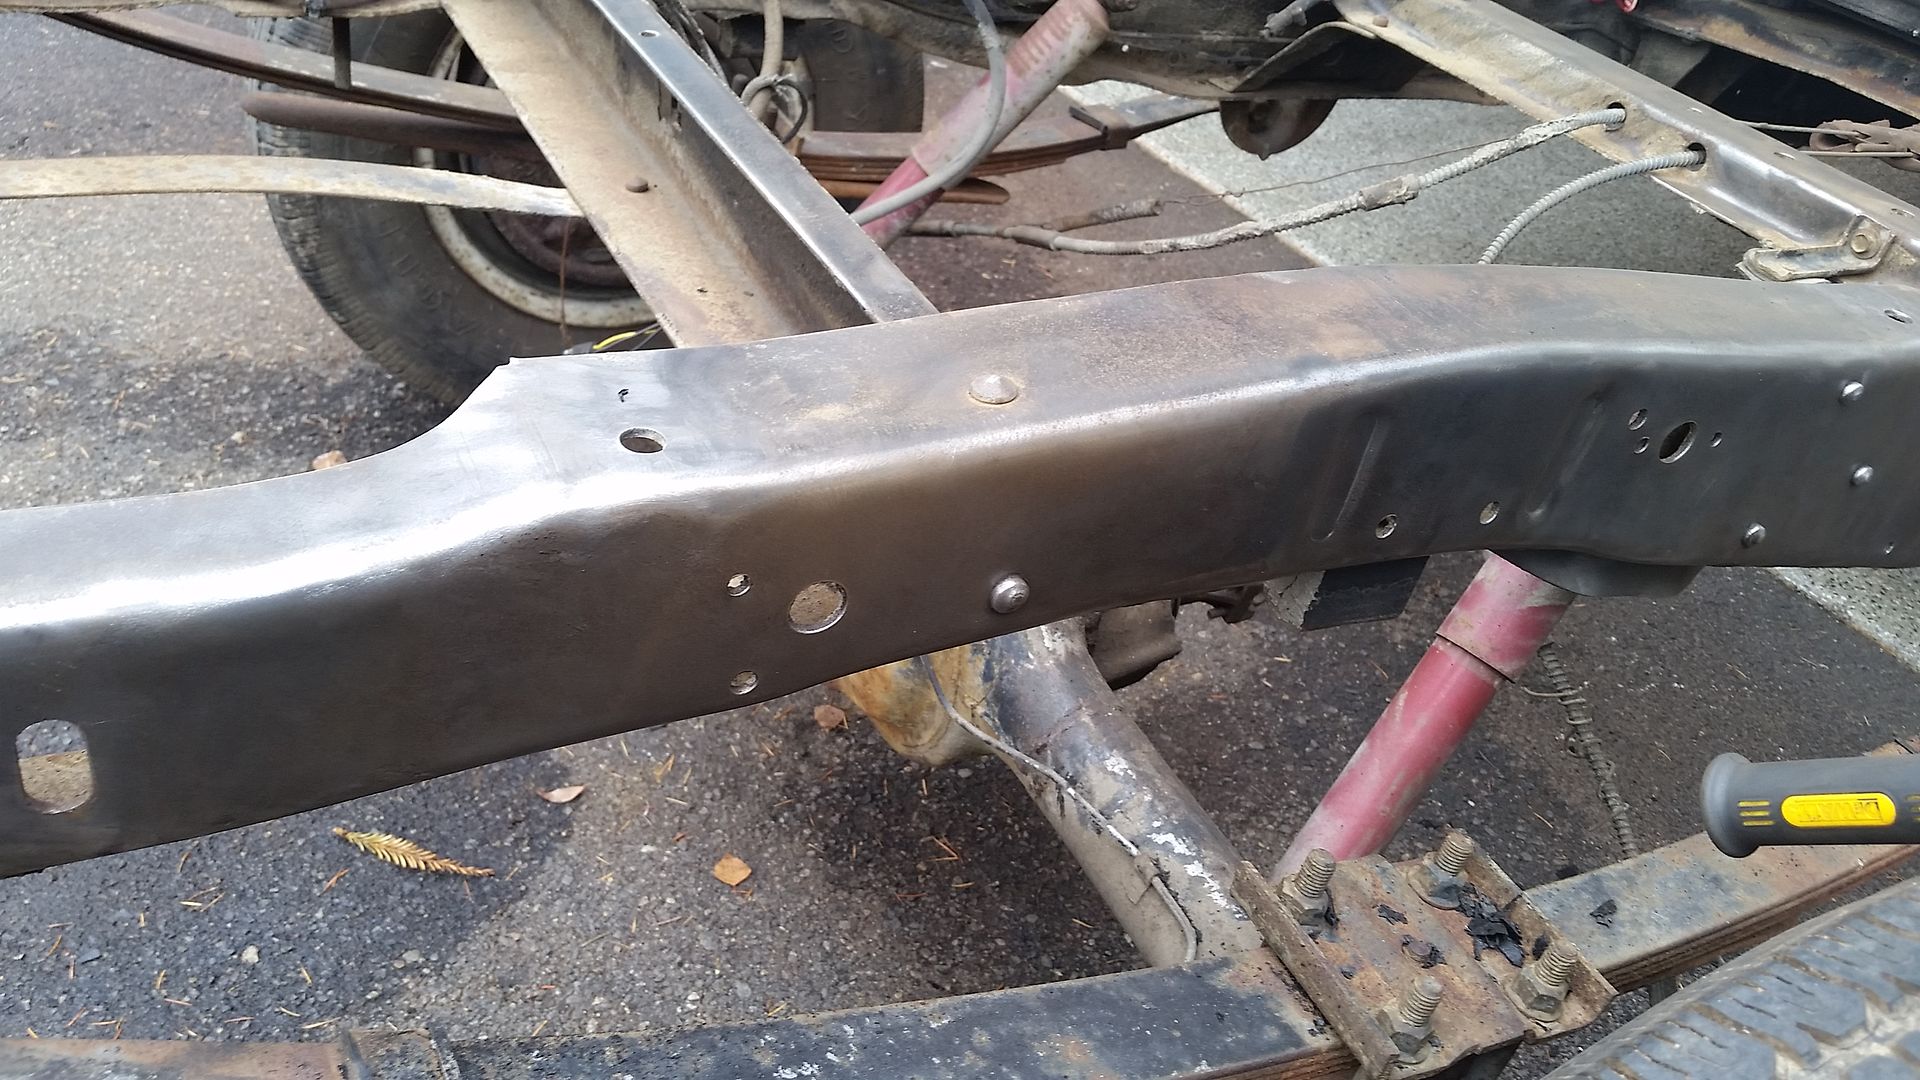
Hours with my friends....I mean a chisel, torch and a wire wheel on my trusty 4" grinder later....

Image

So much better.

Image

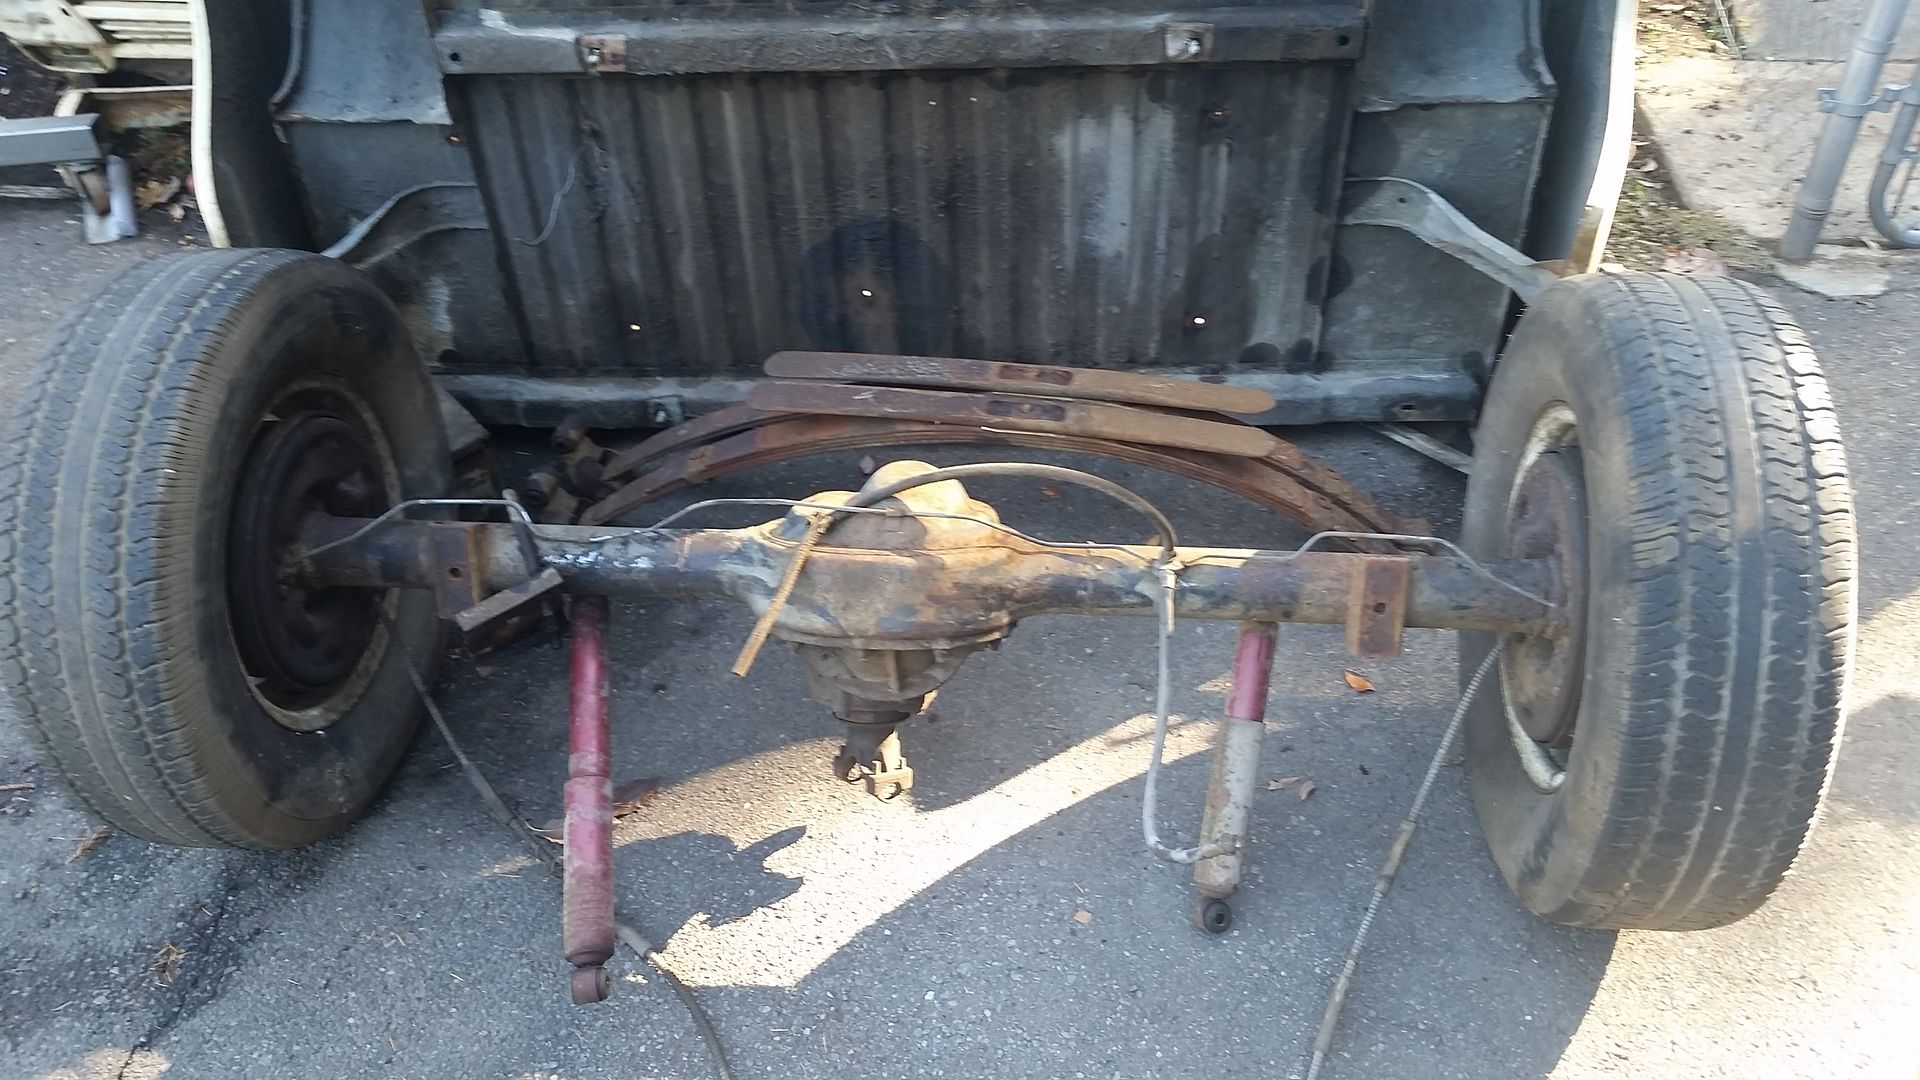
Got it back in the shop and got to work tearing out the rearend. Everything came unbolted with no issue except the u bolts. I had to cut those out. No big deal. One of the leaf springs is about an inch lower than the other, other than that it all is in pretty good shape, suprisingly.

Image

Got out the cutoff wheel and the grinder again for 16 more fun rivets....Did I mention I am getting tired of cutting these off? I think I have 14 lef to cut off at this point.

But its a nice clean frame to work off of at this point.

The front ones were a bitch.
Image

Image

I ran out of flap discs, need to make a run to the store and get some more of those, then get the rearend under the truck and see where things land.

Sean
IN2FORD
Preferred User
Preferred User
Posts: 345
Joined: Sun Apr 27, 2014 3:54 pm
Location: Cookeville TN

Re: Hackster's F100 #2 CV Swap 6 speed manual and Coyote

Post by IN2FORD »

Sean I did the Rustoleum satin black on my frame as well. I did use a primer on it first and them brushed it on. It really turns out much better than I thought it would and is very durable. It's crazy how fast you gain ground on your project. Again awesome work!

Barry
Post Reply