1969 F250 4x4 Highboy 7/9 rubicon
Moderator: FORDification
- 1971ford
- 100% FORDified!
- Posts: 5565
- Joined: Wed Jul 04, 2007 1:05 pm
- Location: Placerville CA
re: 69 F100 Ranger project- 6/5 interior stripped!
well i just ordered a bucn of POR-15 stuff...:
Qty - Description - Total
3 POR15 - QUART - SEMI GLOSS
Item: 1QSB Price: $44.95
$134.85
2 METAL READY - QUART
Item: MRQ Price: $16.50
$33.00
1 ENGINE KIT - CORPORATE BLUE
Item: EPKBC Price: $54.50
$54.50
1 2" PAINT BRUSHES (6)
Item: PB46 Price: $9.18
$9.18
Subtotal: $231.53
(National,State and Local taxes) Tax: $0.00
(UNITED PARCEL SERVICE - GROUND) Shipping: $15.75
--------------------------------------------------------------------------------
TOTAL: $247.28 i cant wait for my big box of new fun toys
anyways, im trying to get everything stripped before the por-15 gets here. today,
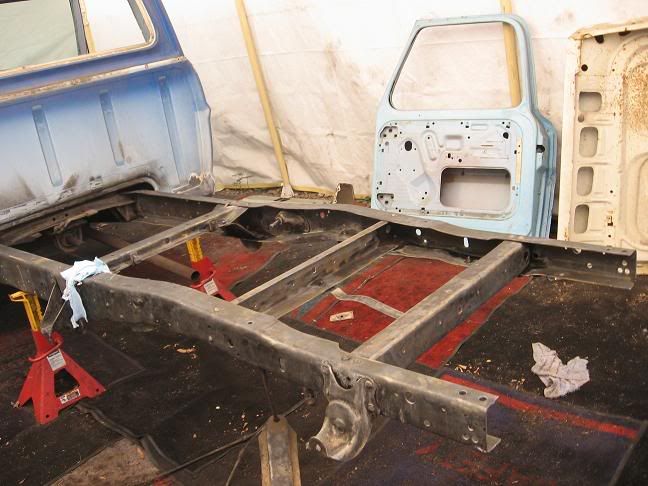
- i stripped alot more of the rear chassis. i concentrated on underside of it and hard-to-reach spots.
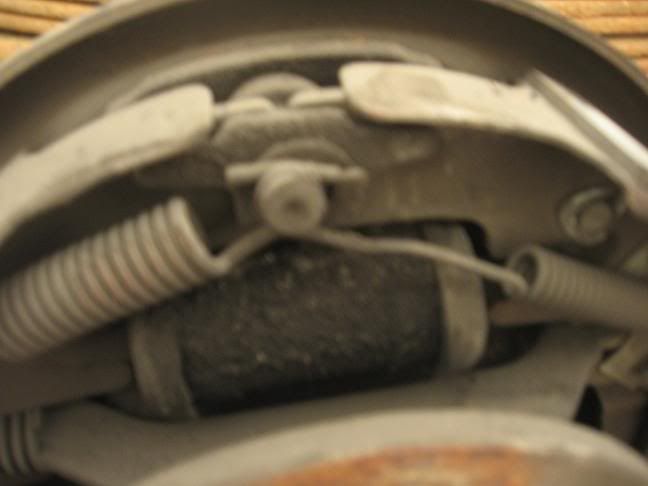
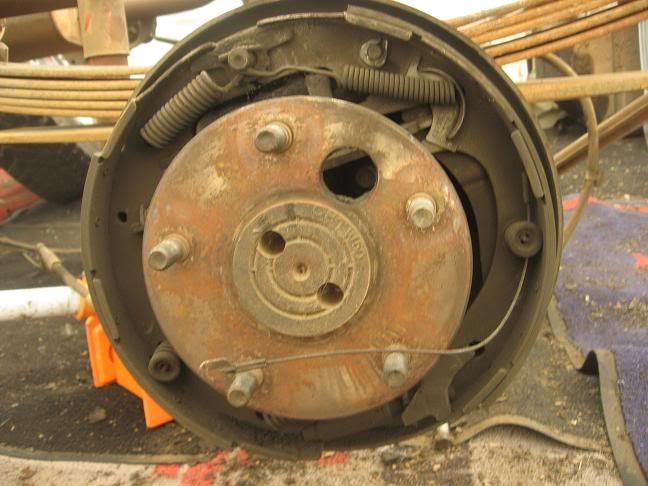
-I jacked up the rear of the frame and removed the wheels, and checked out the brakes
-I removed the parking brake cables
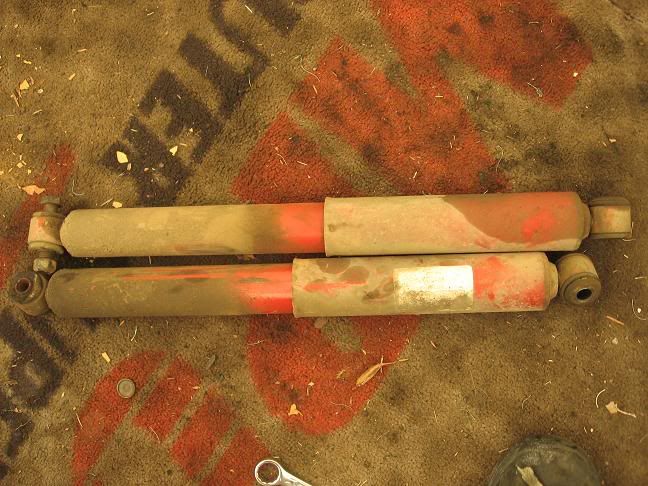
-I removed the shocks
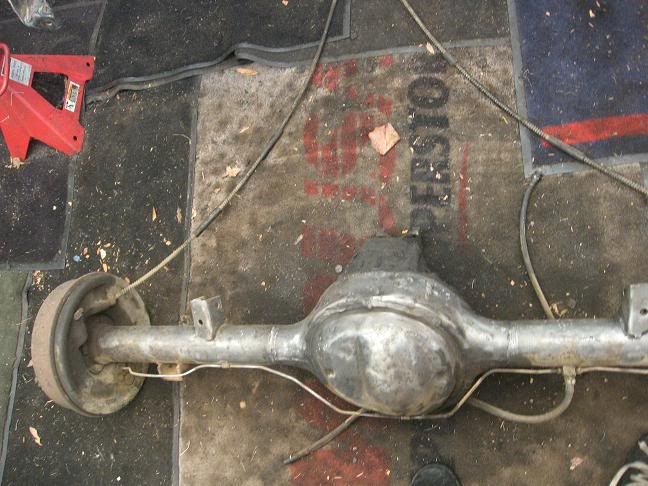
-I removed the rearend
-I removed the leaf springs
-I dropped the exhaust system, in hopes to be able to pull it out in one piece
- I got some more weird stuff from my neighbor.
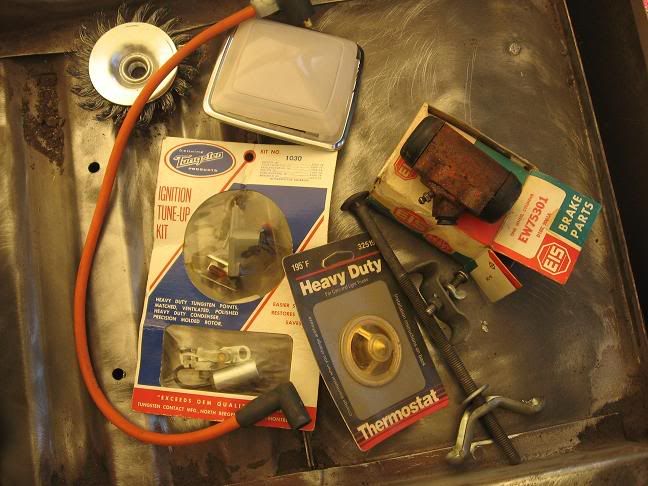
weird stuff from neighbor... what the heck is this "ignition tune up device"!
disconnecting brake line... well after soakign it for a halfhour i gave up with the brake line wrench and the pb blaster and decided for some vice grips. i got a small pare of vice grips and adjusted them to the point where i had to give it all i got to get them to lock on the brake line nut. then i wrenced on it with the vicegrips and it finally broke loose.
i had to use a pair of plyers to get the darn things off the nut
BEFORE...
AFTER...
first i jacked the rearend up and removed the wheels. I put stands under the frame near the cab and moved the jack under the rear pumpkin for later.
Brakes are poopy. im going to completely rebuild them in the rear, and install disks on the front.
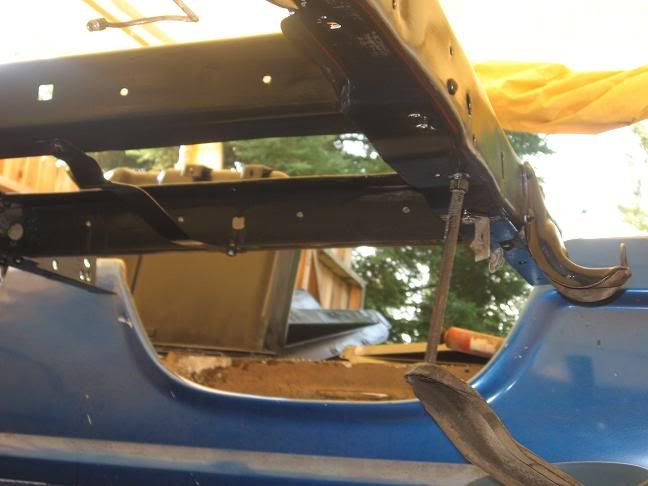
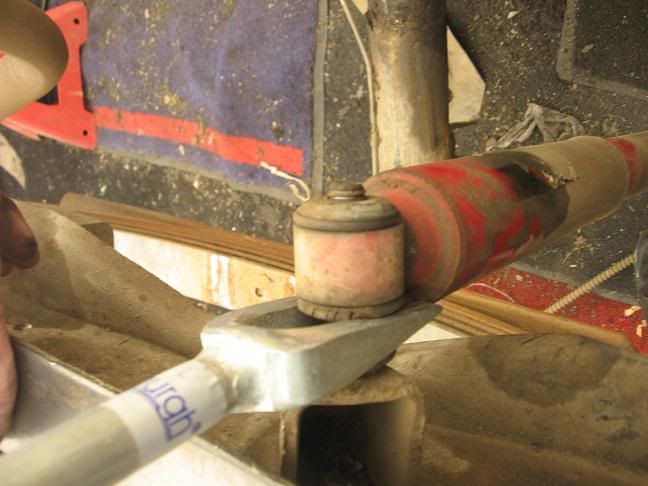
then i removed the bolt/nut connecting the shocks to the rearend and got a rubber mallet to knock them out. came right out. for the top end, i grabbed a pickle fork that was laying next to me by chance, and it worked great on removing it from the top stud..
Then i removed unbolted the leafs from the rear end and i lowered the rearend.
Then i removed the Leafs.
to do this, i soaked every bolt in PB blaster when i first got the idea of removing the rearend so they would be soaked in by now.
Then, i grabbed my rachet and put all my weight into it, no movement whatsoever.
sOooooooo, i grabbed my trust braker bar , quite big isnt it?
bolts are 7/8" i used the ratchet/braker bar on one side like shown and had a wrench on the other side on the nut.
leafs now removed.
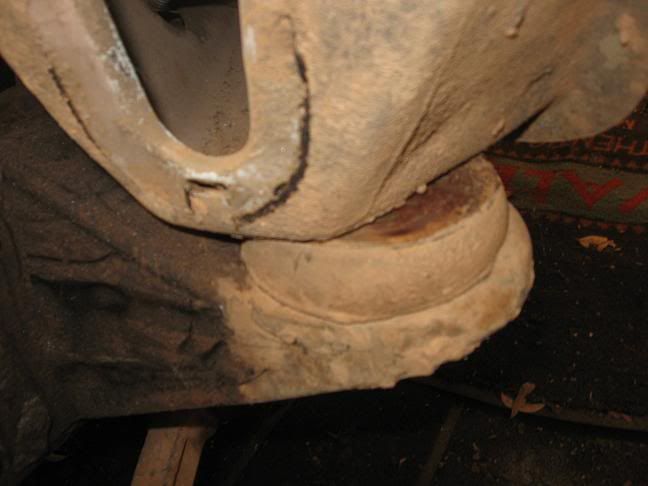
then i unbolted the exhaust system from the chassis and tried manuevering it out from under the truck in one piece. no luck. there isnt a way to get the front bend under the cab. ill have to wait. but, when i did this i guess i was leveraging it on the cab, because somehow it moved (its unbolted, but still!) i didnt even try to put weight into it, i guess the cab is LIGHT!
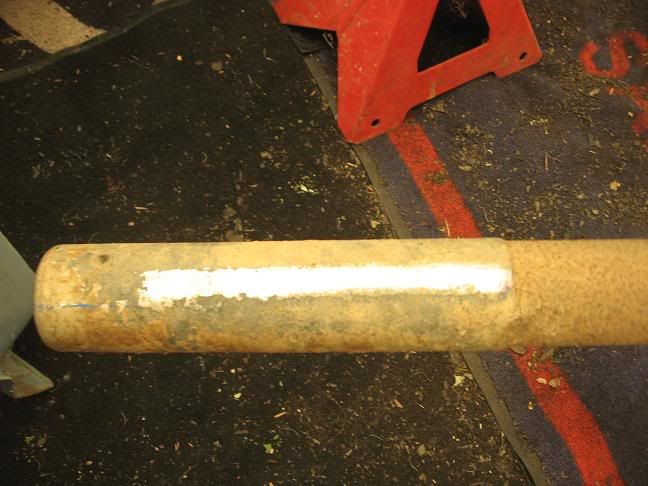
i wondered if there was some bling bling under the gunky on the exhaust tip, so i got the grinder and found some Bling Bling
the end
Qty - Description - Total
3 POR15 - QUART - SEMI GLOSS
Item: 1QSB Price: $44.95
$134.85
2 METAL READY - QUART
Item: MRQ Price: $16.50
$33.00
1 ENGINE KIT - CORPORATE BLUE
Item: EPKBC Price: $54.50
$54.50
1 2" PAINT BRUSHES (6)
Item: PB46 Price: $9.18
$9.18
Subtotal: $231.53
(National,State and Local taxes) Tax: $0.00
(UNITED PARCEL SERVICE - GROUND) Shipping: $15.75
--------------------------------------------------------------------------------
TOTAL: $247.28 i cant wait for my big box of new fun toys
anyways, im trying to get everything stripped before the por-15 gets here. today,
- i stripped alot more of the rear chassis. i concentrated on underside of it and hard-to-reach spots.
-I jacked up the rear of the frame and removed the wheels, and checked out the brakes
-I removed the parking brake cables
-I removed the shocks
-I removed the rearend
-I removed the leaf springs
-I dropped the exhaust system, in hopes to be able to pull it out in one piece
- I got some more weird stuff from my neighbor.
weird stuff from neighbor... what the heck is this "ignition tune up device"!
disconnecting brake line... well after soakign it for a halfhour i gave up with the brake line wrench and the pb blaster and decided for some vice grips. i got a small pare of vice grips and adjusted them to the point where i had to give it all i got to get them to lock on the brake line nut. then i wrenced on it with the vicegrips and it finally broke loose.
i had to use a pair of plyers to get the darn things off the nut
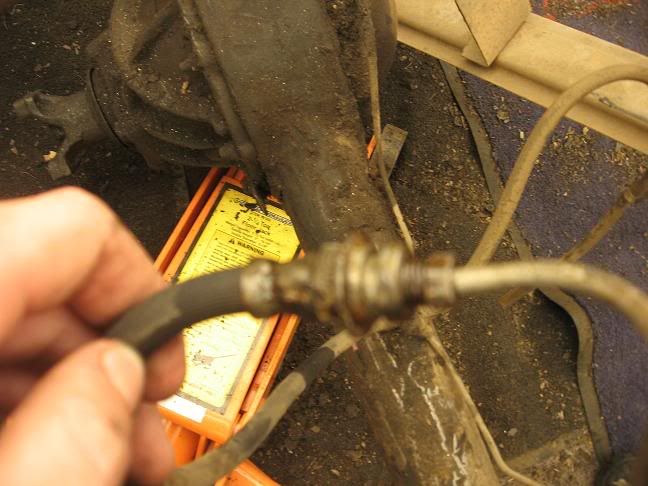
BEFORE...
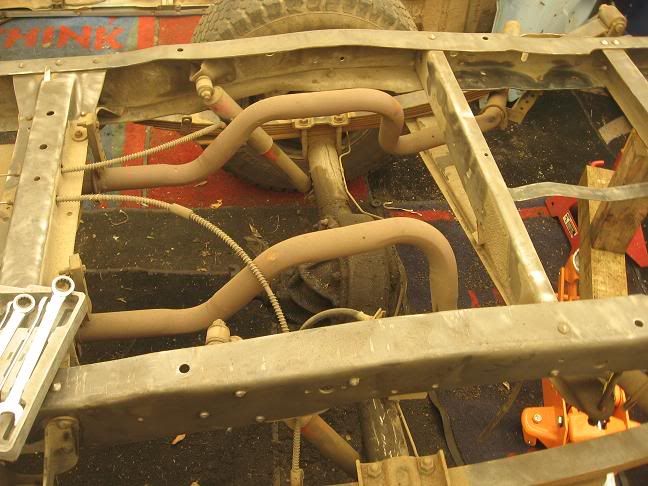
AFTER...
first i jacked the rearend up and removed the wheels. I put stands under the frame near the cab and moved the jack under the rear pumpkin for later.
Brakes are poopy. im going to completely rebuild them in the rear, and install disks on the front.
then i removed the bolt/nut connecting the shocks to the rearend and got a rubber mallet to knock them out. came right out. for the top end, i grabbed a pickle fork that was laying next to me by chance, and it worked great on removing it from the top stud..
Then i removed unbolted the leafs from the rear end and i lowered the rearend.
Then i removed the Leafs.
to do this, i soaked every bolt in PB blaster when i first got the idea of removing the rearend so they would be soaked in by now.
Then, i grabbed my rachet and put all my weight into it, no movement whatsoever.
sOooooooo, i grabbed my trust braker bar , quite big isnt it?
bolts are 7/8" i used the ratchet/braker bar on one side like shown and had a wrench on the other side on the nut.
leafs now removed.
then i unbolted the exhaust system from the chassis and tried manuevering it out from under the truck in one piece. no luck. there isnt a way to get the front bend under the cab. ill have to wait. but, when i did this i guess i was leveraging it on the cab, because somehow it moved (its unbolted, but still!) i didnt even try to put weight into it, i guess the cab is LIGHT!
i wondered if there was some bling bling under the gunky on the exhaust tip, so i got the grinder and found some Bling Bling
the end
-Ryan
- SteveC
- Blue Oval Guru
- Posts: 1091
- Joined: Mon Oct 29, 2007 11:04 pm
- Location: Nebraska, North Platte
- Contact:
re: 69 F100 Ranger project-6/6 disassembly of chassis!
the ignition stuff it is probally you replaceble in you distribitor ie: points rotor condeser. Just helps it run better and proballt need replaced anyway
I don't really care about brands Chevy Ford Dodge ...as long as it doesn't sound like two old dudes farting in a coffee can.
http://s169.photobucket.com/albums/u223/imabaka70/ Projects listed on the left side
WOOOT!! i passed my mechanics classes. Now working as a mechanic and waiting to go for my ASE certifications.
1967 f-100 4x4
1969/72 f100 351w EFI m5r2 5 speed
1988 ford f150 xlt lariat
1961 VW Beetle (wifes car)
http://s169.photobucket.com/albums/u223/imabaka70/ Projects listed on the left side
WOOOT!! i passed my mechanics classes. Now working as a mechanic and waiting to go for my ASE certifications.
1967 f-100 4x4
1969/72 f100 351w EFI m5r2 5 speed
1988 ford f150 xlt lariat
1961 VW Beetle (wifes car)
- TheEskimo
- Blue Oval Fanatic
- Posts: 932
- Joined: Thu Feb 02, 2006 10:11 pm
- Location: California, Clearlake
- Contact:
- 1971ford
- 100% FORDified!
- Posts: 5565
- Joined: Wed Jul 04, 2007 1:05 pm
- Location: Placerville CA
kinda quick, i try to take my time when i do everything. It took me 2 hours or more just to get the rearend out of there. and thats just taking out bolts and lowering the rearend and such. since i have so much time, I dont want to cut any corners or get lazy, or think "oh its just one spot ill have to skip" when grinding or whatever.
-Ryan
-
- Blue Oval Guru
- Posts: 1280
- Joined: Fri Apr 21, 2006 5:11 pm
- Location: Mississippi, Hattiesburg
- JWW
- Blue Oval Fanatic
- Posts: 793
- Joined: Wed Apr 11, 2007 7:57 pm
- Location: Tennessee
re: 69 F100 Ranger project-6/11 Getting Everything stripped!
Wow! That looks great. Keep it up, I'm enjoying this.
JWW
1967 F100 Ranger, Auto, 240ci
2004 F150 Crew Cab
My project: http://www.fordification.com/forum/view ... &sk=t&sd=a
1967 F100 Ranger, Auto, 240ci
2004 F150 Crew Cab
My project: http://www.fordification.com/forum/view ... &sk=t&sd=a
- rjewkes
- 100% FORDified!
- Posts: 3711
- Joined: Sun Apr 17, 2005 1:09 am
- Location: Missouri, Webb City
- Contact:
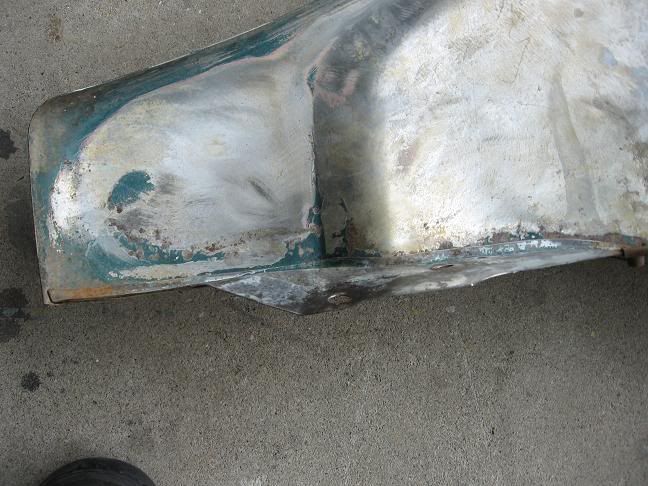
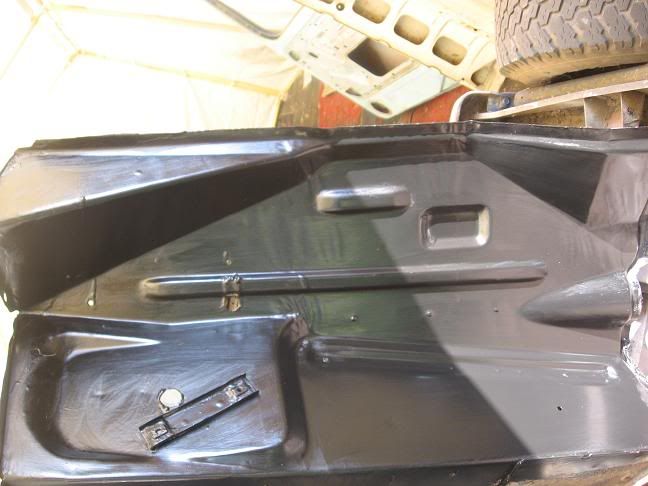
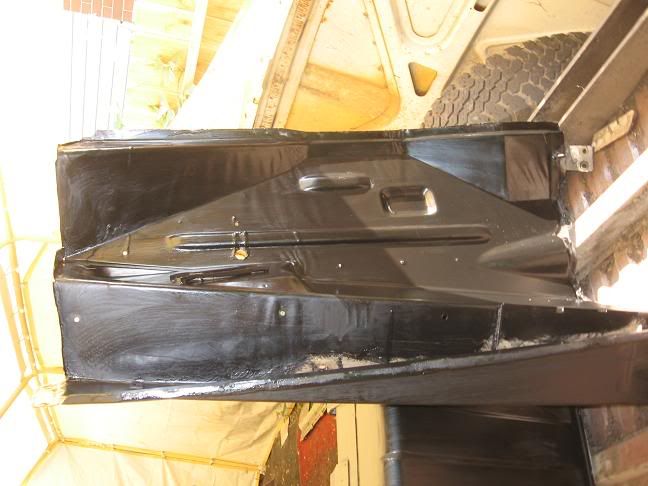
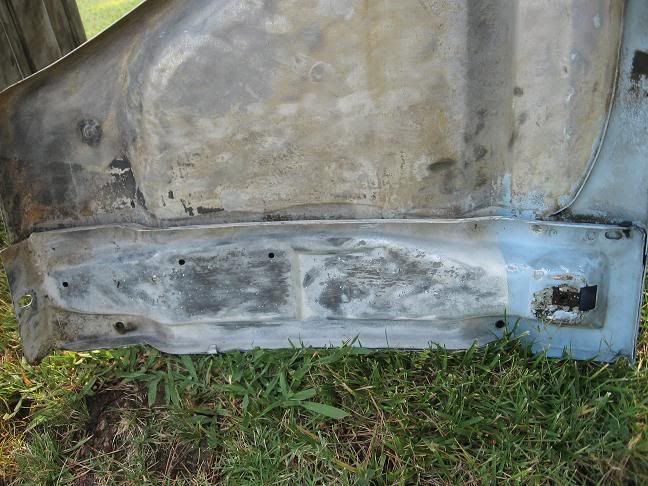
that torched spot might be for the power steering box to have room.
and no fair with pics of rust free cab corners
"It is better to keep your mouth shut and appear stupid than to open it and remove all doubt." - Mark Twain
'70 f250 4x4 Crew cab 460/C6 '72 F100 390/C6 9.8 MPG AVG. '89 Mercury Cougar LS Dual Exh. V6 . 18.9 MPG AVG. In Town.
I don't want to give em a heart-attack. That is what would happen if I answered the door in the buff. Heck it almost scares me to death when I step out of the shower and look in the mirror.~Mancar1~
fuelly.com
-
- New Member
- Posts: 20
- Joined: Tue Mar 11, 2008 1:20 am
re: 69 F100 Ranger project-6/11 Getting Everything stripped!
that cut out is for power steering most likely.
69' Ford F250 Ranger XLT Camper Special
460 conversion
-Zach
460 conversion
-Zach
- 1971ford
- 100% FORDified!
- Posts: 5565
- Joined: Wed Jul 04, 2007 1:05 pm
- Location: Placerville CA
Re: re: 69 F100 Ranger project-6/11 Getting Everything strip
yeah its got to be that. i dont see what else it would be forNAFLASH wrote:that cut out is for power steering most likely.
-Ryan
- 1971ford
- 100% FORDified!
- Posts: 5565
- Joined: Wed Jul 04, 2007 1:05 pm
- Location: Placerville CA
yeah, but wouldnt the inner fender come factory with enough room? that stumps me maybe he just cleared another in. just to be saferjewkes wrote:that torched spot might be for the power steering box to have room.
and no fair with pics of rust free cab corners
oh and i use every chance i get to show off my perfect rust free areas
-Ryan
- 1971ford
- 100% FORDified!
- Posts: 5565
- Joined: Wed Jul 04, 2007 1:05 pm
- Location: Placerville CA
re: 69 F100 Ranger project-6/11 Getting Everything stripped!
well i skipped a weak of work, but yesterday and today were WORK days
today alone i spent 10 hours straight (6:30AM - 4:30)
what i did:
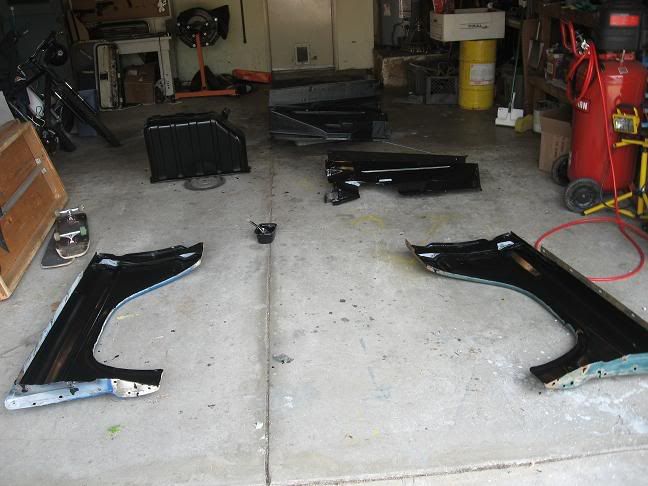
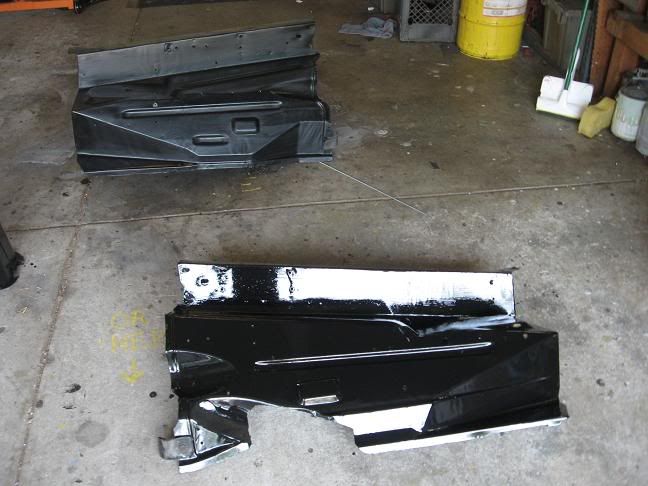
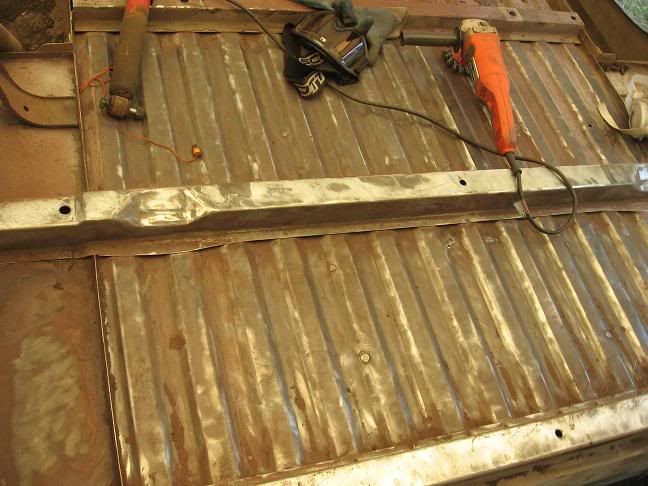
-stripped underside of the last inner fender
-stripped the under-bed Frame section
-stripped most of the rear axle assembly
-stripped inside of both fenders
-cleaned dust off all bare metal ready for POR-15
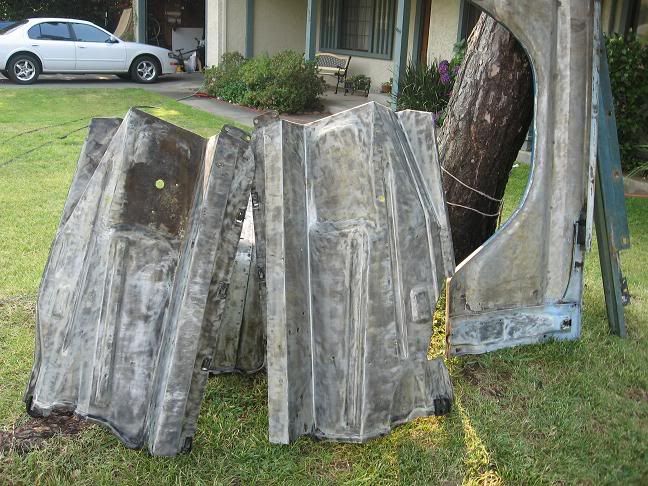
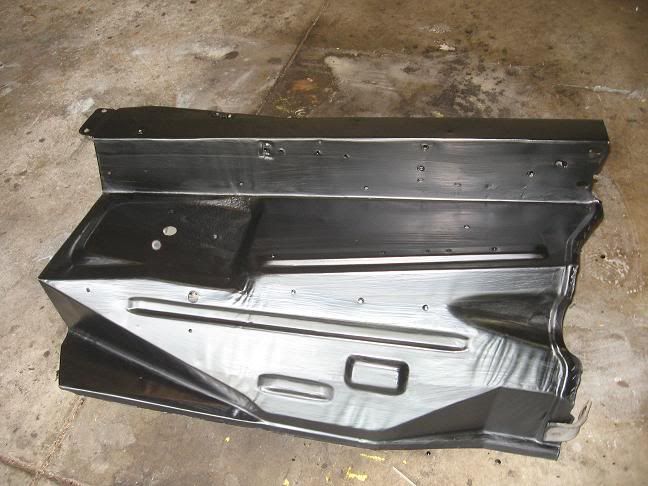
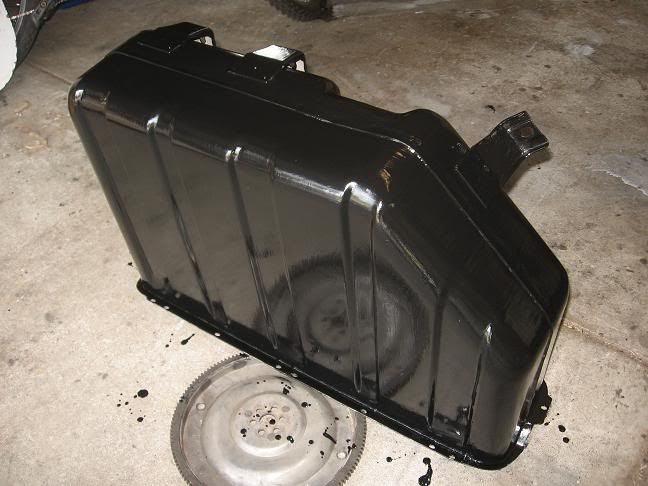
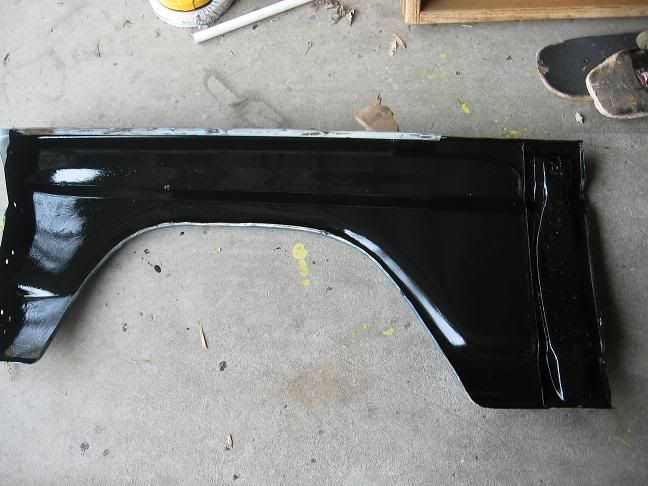
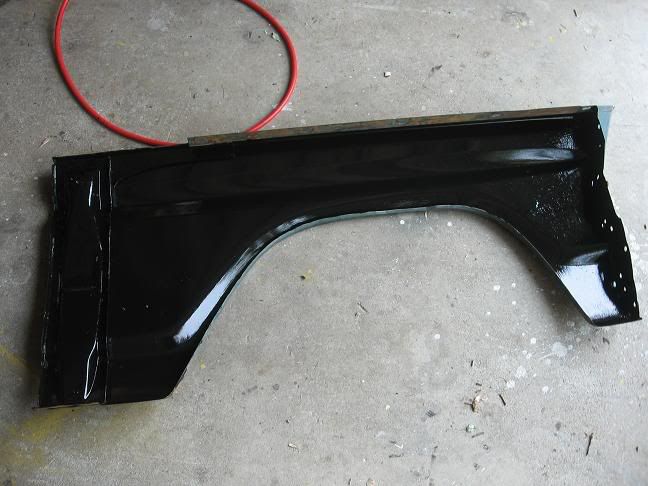
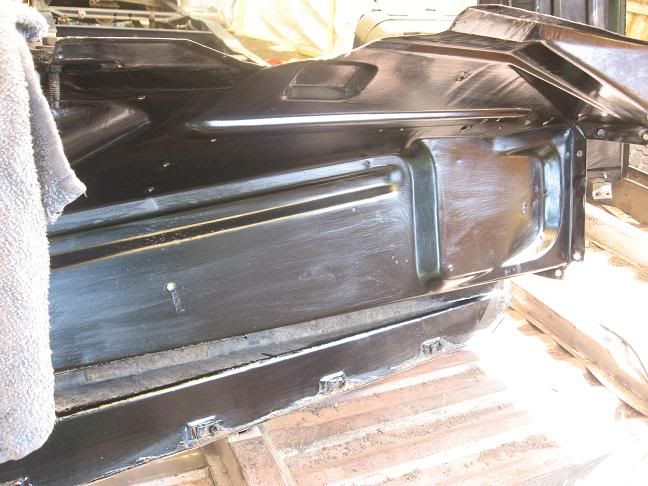
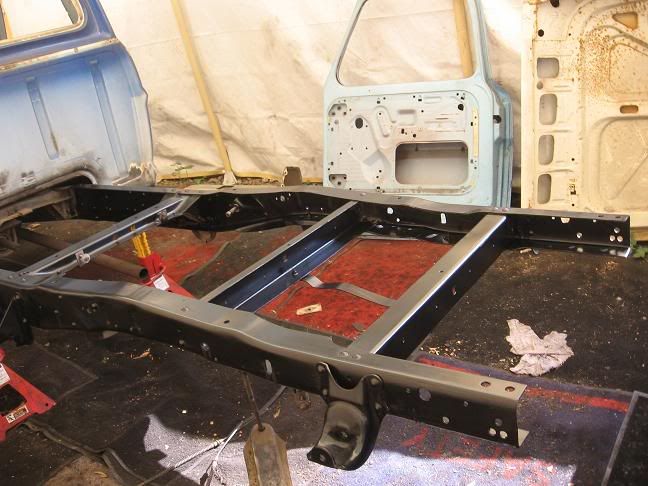
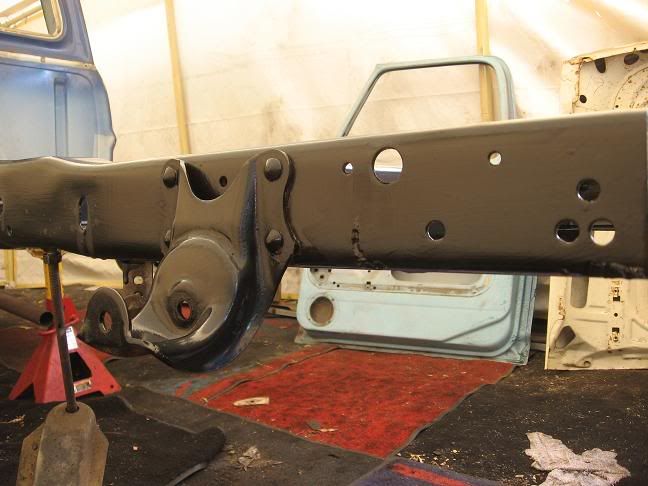
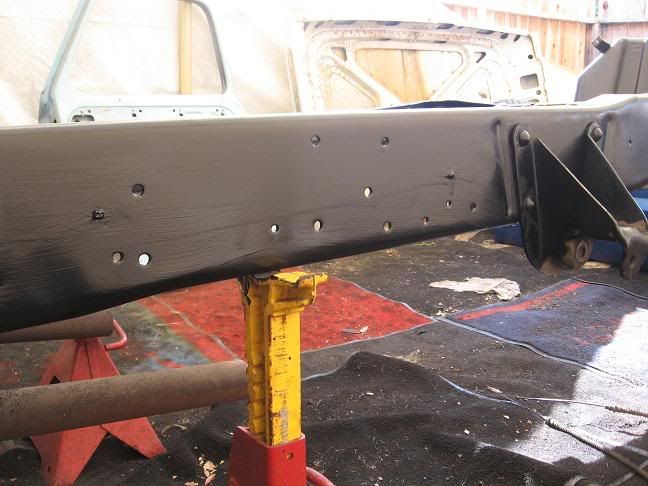
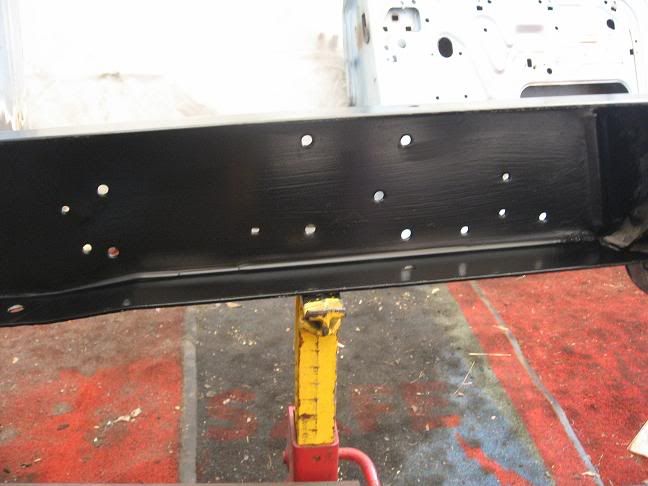
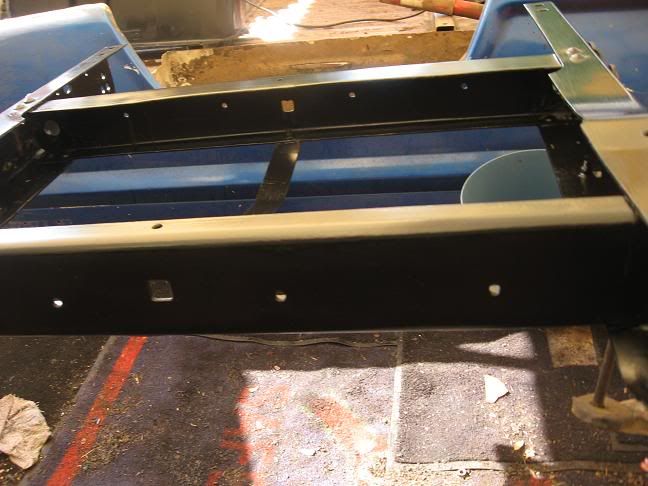
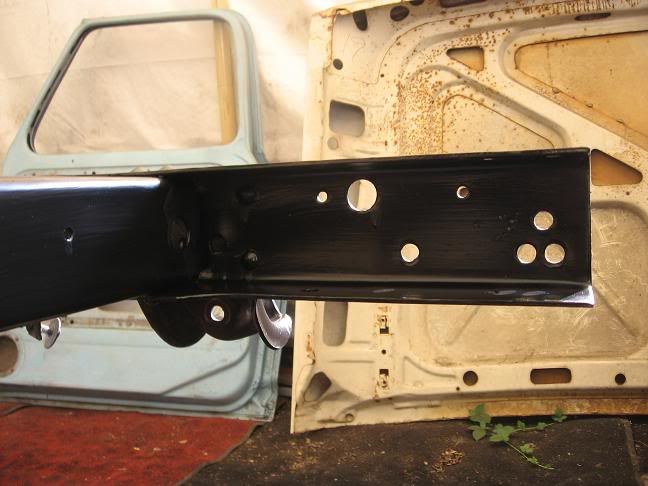
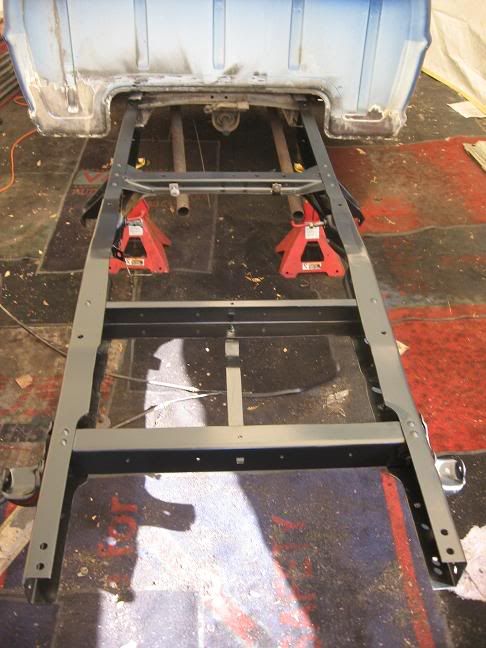
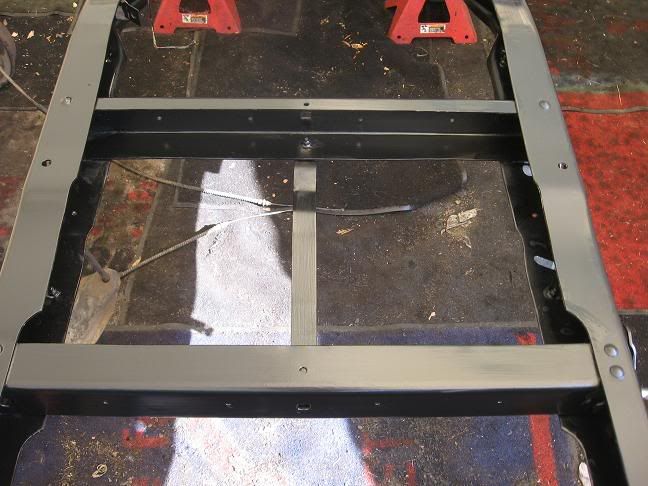
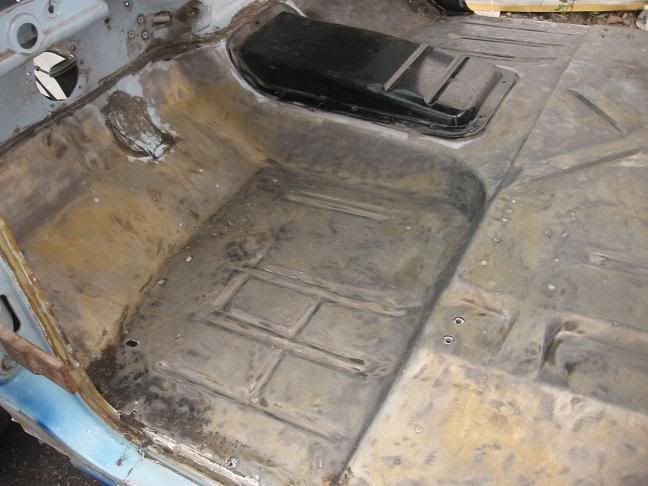
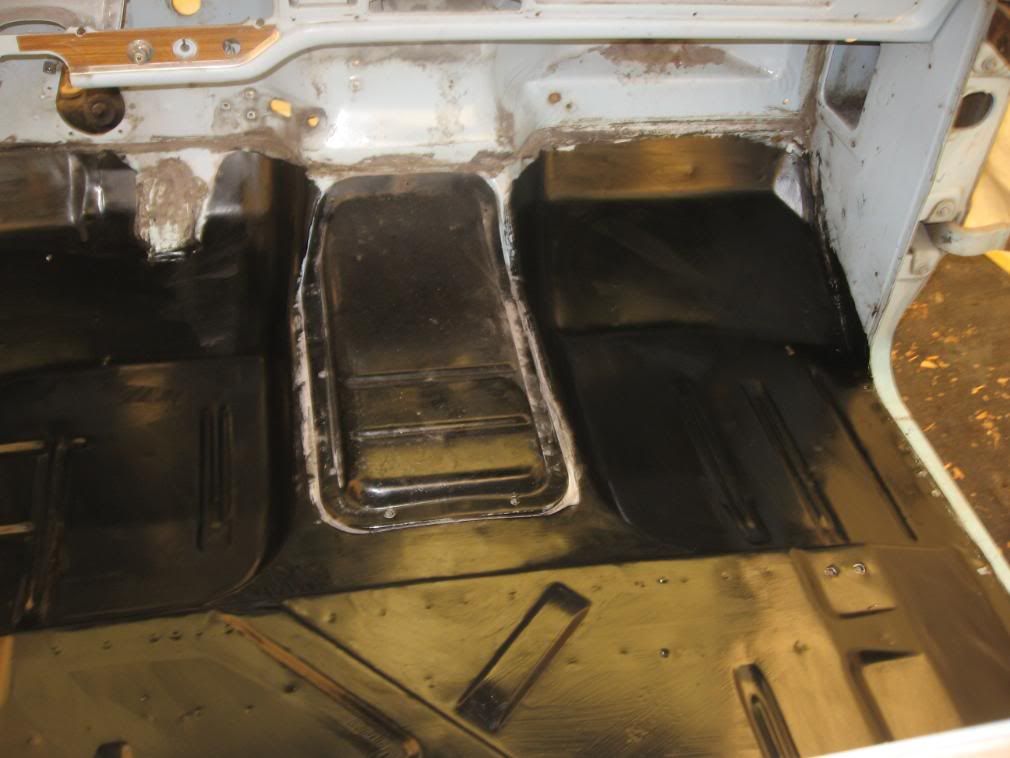
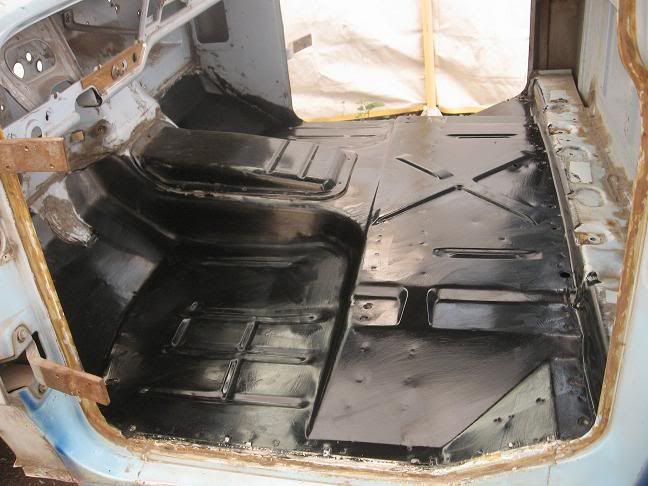
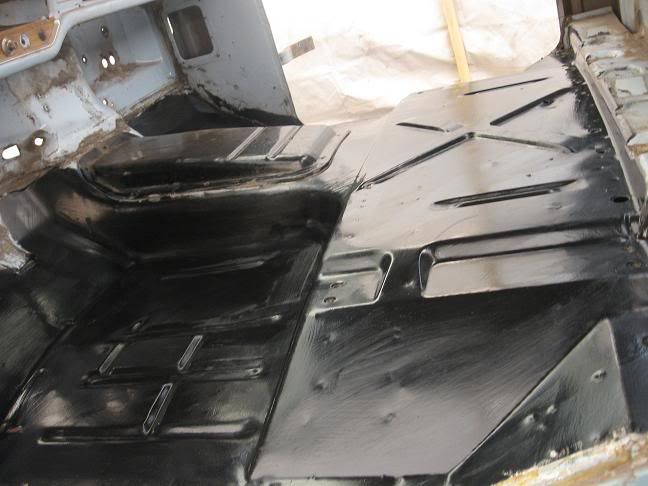
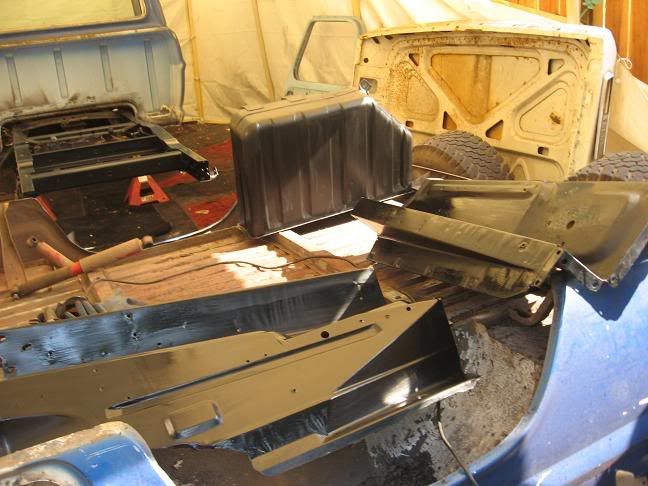
-POR-15'd the insides of both fenders,inside and outside of both inner fenders, and the cargo box shell, and the in-cab floor, and the rearend.
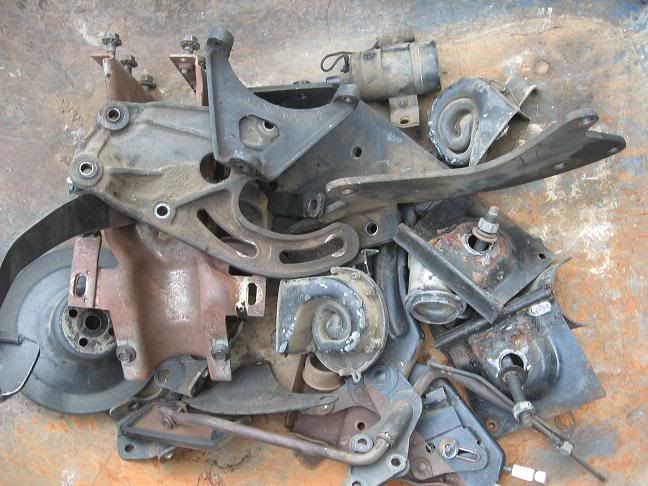
-got a bunch of parts together for paint
-started cleaning parts for paint
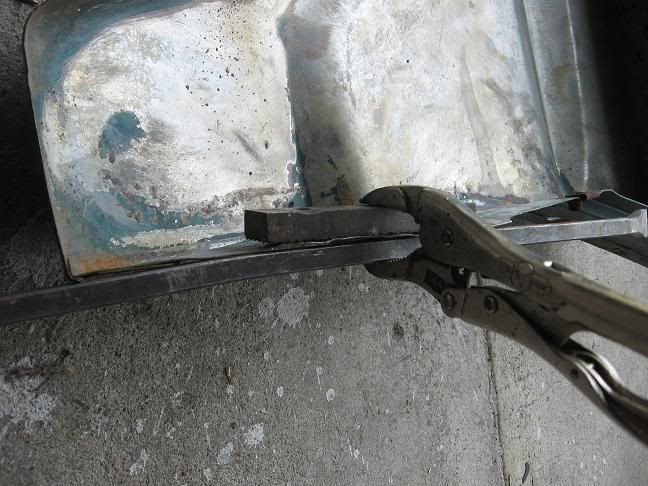
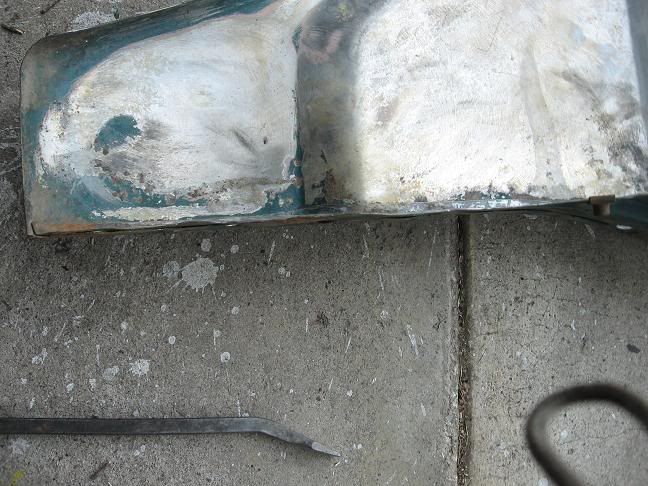
removing a dent::::::
this was a dent that was formed by my wire wheel grabbing the edge and bending it... this is how ill remove it.
should look like this, this is my other fender
i pinched to flat object and squeezed the dent to almost-normal state:
parts drying after there 20min. of metal ready+rinse
parts to paint
plus i have a bin of parts to sandblast
that was alot of work today, and i have TONS of por-15 on me and its not the easiest to get off
POR-15!!!!!!!!!!!!!!!!
fender farthest has been drying after its 2 coats, the fender nearest just got a coat
underside:
OOOOOOOOOOOOooooooooo look at my shiny shiny frame
soaking in metal ready:
WOOOOOOO!
stripped more bed
i should cut out the centers of the re-inforcements so i can put POR-15 in it so it wont rust. in thre is a very popular rusting area. Keith cut his out and found a buch of dirt clods in there. i just my hose nozzle under there and blew out tons of mud.
i think the project just might be DONE before summer ends
-Ryan
- JWW
- Blue Oval Fanatic
- Posts: 793
- Joined: Wed Apr 11, 2007 7:57 pm
- Location: Tennessee
re: 69 F100 Ranger project-6/25,more stripping and LOTS of P
Wow!! Looking good. You are doing a great job. Thanks for the pics. It will help me in the future.
JWW
1967 F100 Ranger, Auto, 240ci
2004 F150 Crew Cab
My project: http://www.fordification.com/forum/view ... &sk=t&sd=a
1967 F100 Ranger, Auto, 240ci
2004 F150 Crew Cab
My project: http://www.fordification.com/forum/view ... &sk=t&sd=a
- convincor
- 100% FORDified!
- Posts: 1511
- Joined: Wed Sep 12, 2007 5:05 am
- Location: Connecticut
re: 69 F100 Ranger project-6/25,more stripping and LOTS of P
Look'n good ryan.
As for behind the re-enforcements, I wouldn't cut. Be sure there rinsed out real good and leave in the sun to dry for at least half a day. Then pour some POR in at the sides and let in run down so it get into the seem were the inner and outer layers come together at the bottom. Keep these areas clean in the future and you shouldn't have any problems.
68 Custom Cab Shorty, 390, C6, 9"-3.50:1 Currie T/L
"Still Plays With Trucks"
http://s101.photobucket.com/albums/m41/convincor/F100/
"Still Plays With Trucks"
http://s101.photobucket.com/albums/m41/convincor/F100/