I couldn't decide between this method, and using a coupler that is made to fit a 50deg. trailer tongue. I decided to go with this method.
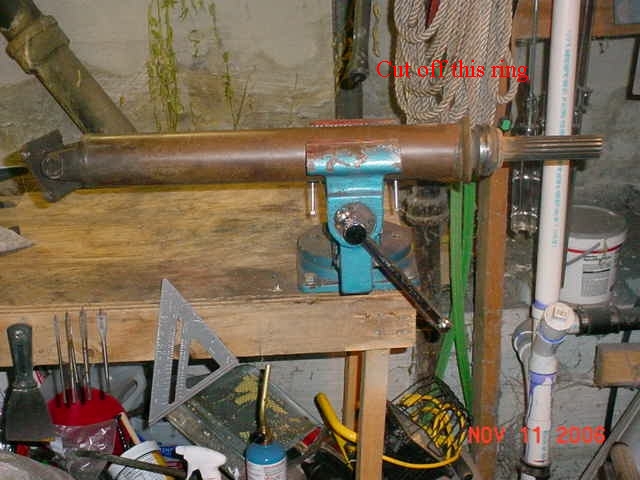
You will have to remove the rubber around the carrier bearing, and cut off the ring at the end of the driveshaft. A reciprocating saw works well for this.
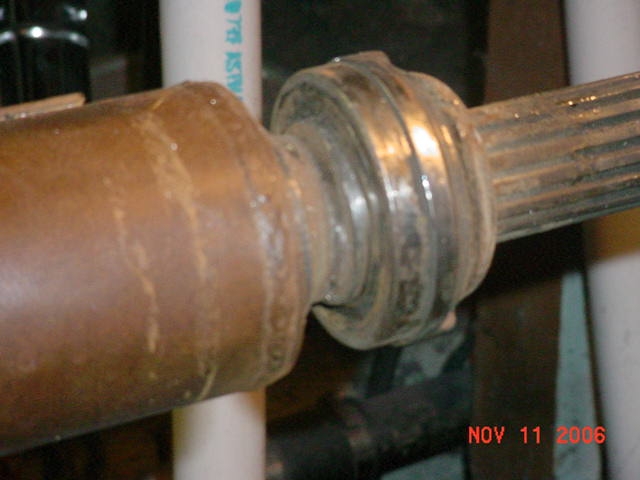
Now for the fun part. You will have to cut off the slip joint/carrier bearing. That metal is HARD! If you have a torch and are doing this outdoors, you could torch it off. My solution?
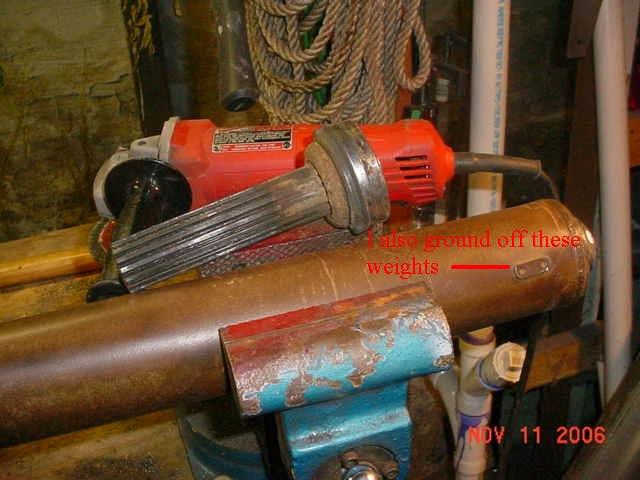
I used my grinder with a cut off wheel. It worked quite well. I also ground off the balance weights, and ground the front of the driveshaft smooth.
This is the coupler used. It has a 3500 pound rating, which is plenty realistic for what I plan to use the trailer for.
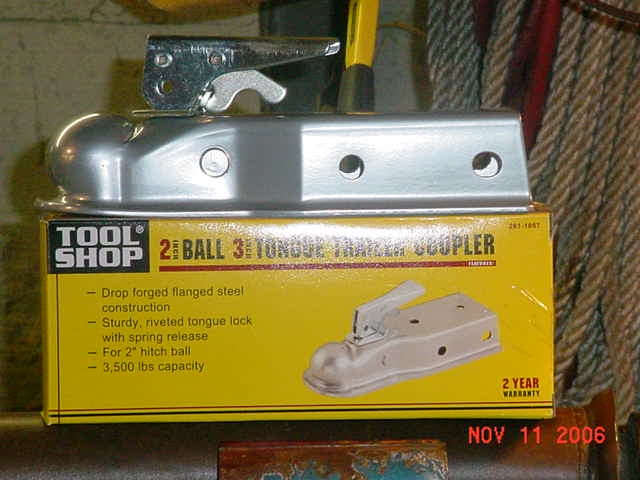
Notice it's for a 3" trailer tongue. Well, guess what the diameter of the driveshaft is? If you said 3", give yourself a raise at work. You have my permission!
Now, after you have the driveshaft mounted in the vise, and it is level, you want to get the flange yoke side as level as possible from side to side. Keep the back of the yoke as nearly vertical as you can to get a good reading.
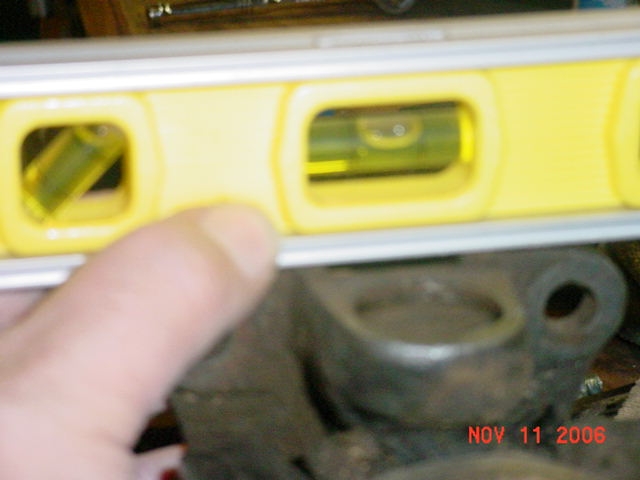
After you have the flange yoke as level as you can from side to side, set the coupler onto the other end of the shaft and get it as level, side to side, as you can. When you have it level, mark the mounting hole location on the driveshaft. Now your coupler should be in the same plane as the flange yoke. The reason for all this will become obvious in a later installment.
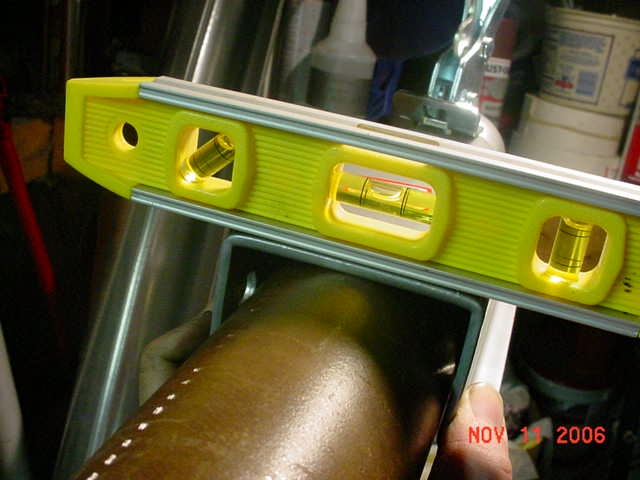
The coupler I'm using has two holes in the top, so I marked those two. The other holes can be drilled using the holes in the coupler itself as a guide.
Drilling these holes is something you will want to do on a drill press. The drill press I have is a table top model, so it doesn't have a particulary long stroke. Most of the time that's no problem, but occasionaly it presents challenges.
Like for this project. I couldn't use my drill press vise, because when I had it mounted to the drill press table, I couldn't get the driveshaft under the drill bit. So I used some scrap pieces of wood and some C clamps to make a jig.
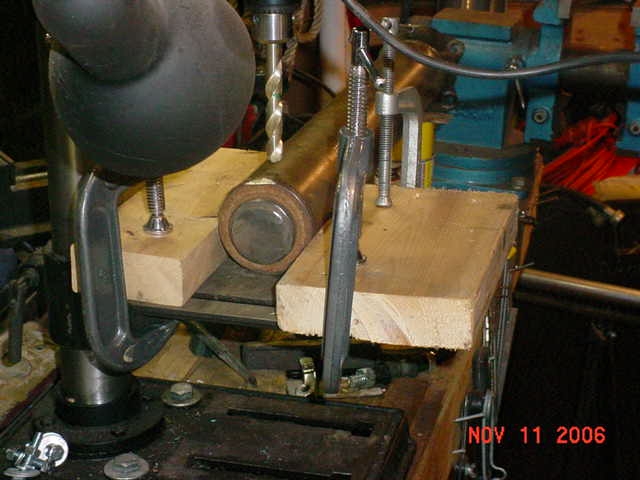
After drilling the first two holes, I had to raise the table, with the bit INSIDE the hole, so I could drill the hole in the opposite side in line with the first hole. Otherwise it would be like Johnny Cash said in the song One Piece At a Time: "When we went to put in the bolts, all the holes was gone!"
This was to compensate for the short stroke of the drill press. Those of you who have a floor mounted drill press with a longer stroke won't have to do this.
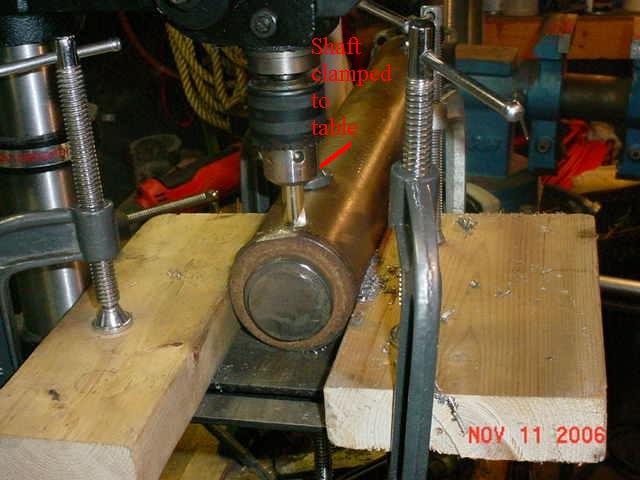
I have the shaft clamped to the tble with a C clamp just behind the bit.
After you have the first two holes drilled, install some bolts, then use the other mounting holes on the coupler itself as drilling guides. Drill the holes on one side, turn the assembly over and drill the holes on the other side.
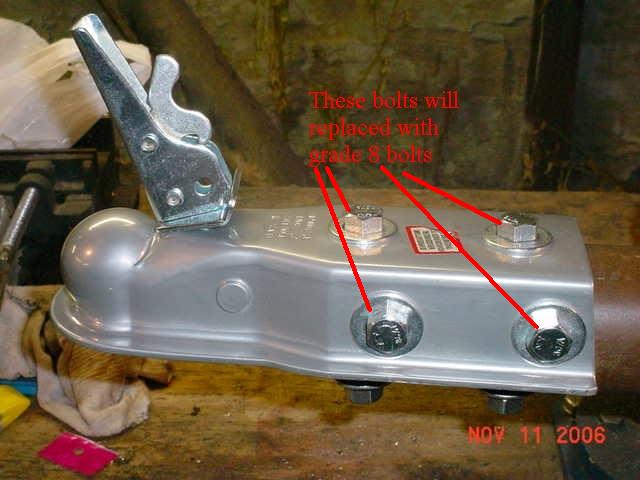
I will be using grade 8 bolts when this is intalled on the trailer. The added measure of safety is worth the added expense. The coupler had a sticker on it that said "Top holes not for mounting." Well, they are NOW!
What else would they be for?
As soon as I can get the 390 pulled out of the '68s frame, I'll start work on notching and bending the frame rails.
